|
|
|
Selecões: Imagem alpha
channel_lc - Seleção1 .
(Guardadas em Canal Alfa a Imagem
)
Efeito: Ulead Effects \ Arte Texture... (ANEXADO
_usar se necessario)
Deco:Ildiko_create_deco (138) \deco1lc \deco2lc\
deco3lc.
Tubes: 10814 - TUBES SUELYDAM - SDESIGNERS
\lunapaisagem5224(tuna)
bird_brushes_II_by_lpdragonfly_7.
Mask:20-20.
(Agradeço)
Marca D'água . Efeitos do PSP.
Versão usada PSPX8.
Plugins
Plugin Artistic
Plugin Ulead Effects ( efeito anexado)
Plugin Alien Skin \ Eye Candy 5
Plugin VanDerLee
Tutorial
_Roteiro 1-Abrir alphachannel_lc,
fazer uma cópia, fechar ( minimizar ) a original. Preencher com
o gradiente formado pelas cores #f0a25a e
#7b311d
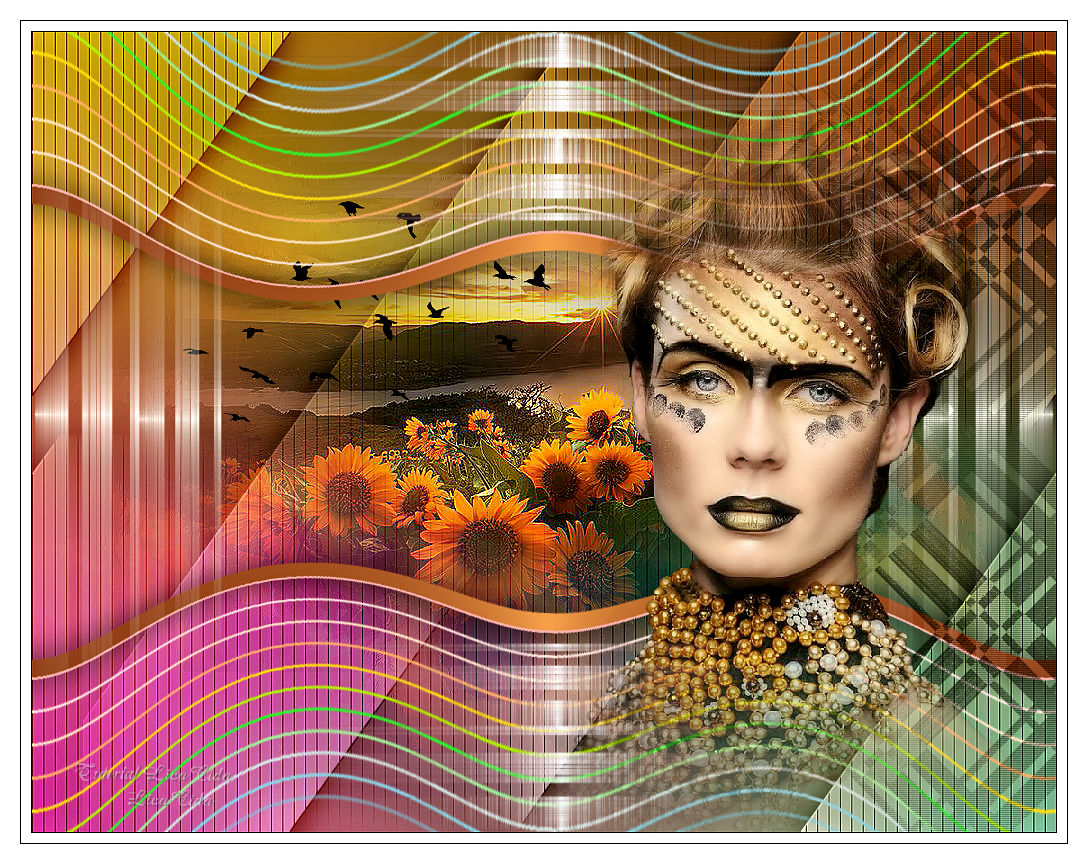
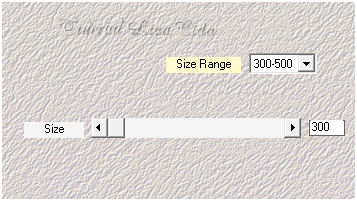
Configurar Sunburst , Repeats 0. Invert desmarcado. CP=50_50 \ FP= 50_100. 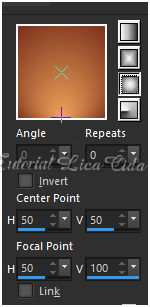 2-Select All. Edit Copy
no lunapaisagem5224(tuna)\ Edit Paste Into Selection . Selections\
Select none.
Adjust\ Blur\ Motion Blur...A=130\
S=100.
3-Plugin Artistic \ Rough Pastels.
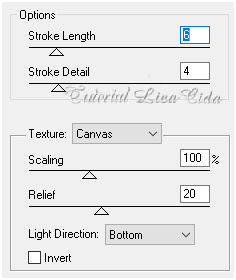 4-Effects\ Art Media Effects\ Brush
Strokes.
 Layer
duplicate.
5-Plugin Ulead Effects \ Arte
Texture... ( reset que aparecerá o efeito
)
Cique1 \seta baixo _aparecerá o efeito seta
acima .
( EFEITO ANEXADO ) 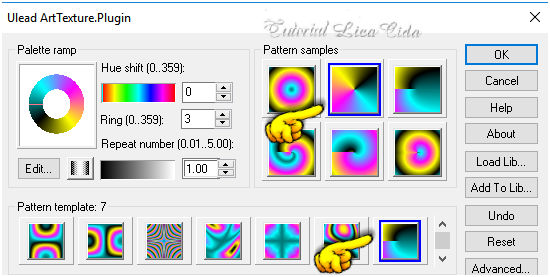 Opacity= 34%
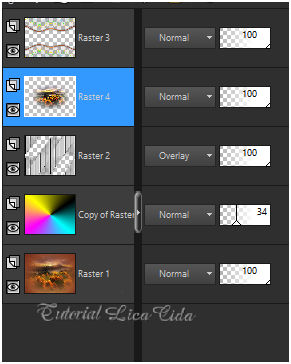
6-
Nova layer .
Select
All. Edit Copy no Ildiko_create_deco (138)\ Edit Paste Into Selection
. Selections\ Select none.
7.- Plugin \ MuR'as Seamless \Emboss at Alpha
- Default.
Effects \ 3D Effects \ Drop
Shadow 0\0\80\40.00.
Color=000000
BM= Overley.
8-Selection\
Load Selection from Alpha Channel Selection
#1.
Nova layer . Preencher com o
gradiente formado no ítem
1.
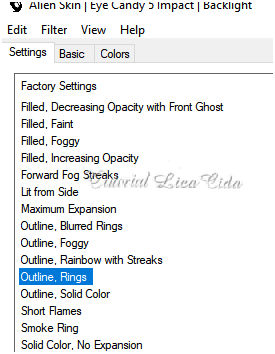
9- Plugin Alien Skin \ Eye Candy 5
Impact \
Backlight.
10-Selections \Modify Contract15.
DELETE.
Selections\ Select
none.
Effects \ 3D Effects \ Drop
Shadow 0\0\80\40.00.
Color=000000.
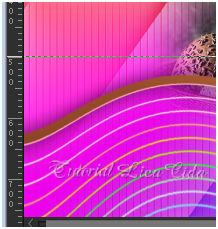
11- Effects\ Distortion Effects\
Polar Coordinates_
Polar to
rectangular.
Abaixar o efeito a 500pxls. usar a ferramenta Pick
Tool.
 Layer
duplicate. Image Mirror Vertical. Layer\ Merge\ Merge
Down.
12-Edit Copy no misted
lunapaisagem5224(tuna)\\ Paste As New Layer.
Adjust\ Sharpness \ Sharpem More.
Layer\
Arrange \ Move Down.
Layers\ Blends\
Opacitys.
13-
Edit Copy no deco1lc\ Paste As New Layer. Objects\ Align\
Left.
Plugin Mehdi
\Weaver.
 Layer duplicate. Resize
80%. Layer\ Merge\ Merge
Down.
Layer Duplicate. Image Mirror
Horizontal. Layer\ Merge\ Merge
Down.
14-
Edit Copy no deco2lc\ Paste As New Layer. Objects\ Align\
Right.
_Plugin VanDerLee\ Unplugged-x...
Vertical Tile
_Default.
_Plugin VanDerLee\ Unplugged-x...
Interlace_Default.
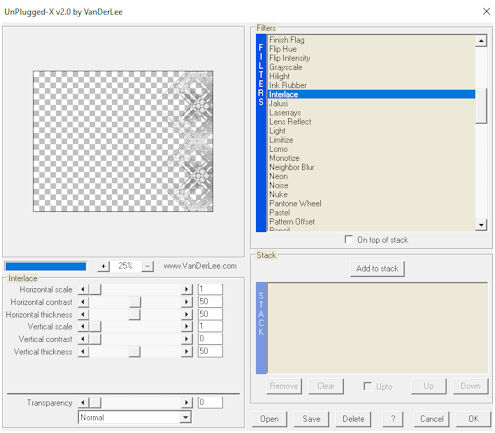 Blend Mode= Multiply
.
15-Edit Copy no
10814
- TUBES SUELYDAM - SDESIGNERS\Paste As New Layer. Resize 90%. ( usei mask
20-20, segue
anexo )
16-
Edit Copy no deco3lc\ Paste As New
Layer.
17-Edit Copy no
bird_brushes_II_by_lpdragonfly_7\Paste As New Layer.
(usar sobre o
misted)
Image add border 1 pxl
color a gosto
Aplicar a Marca D'agua.
Assine e
salve.
Aparecida \ licacida , outubro de
2017.
Espero que gostem.
Obrigada! 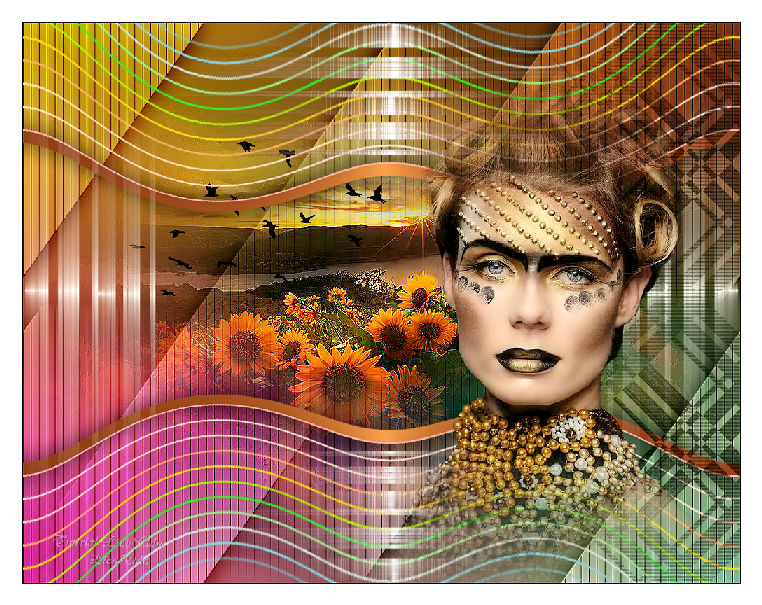  |