|
|
|
"Miryam Leiderman" Com carinho!!!
Seleção: azullc2. PspSelection ( Salve em sua pasta de seleções My PSP Files ) . Tubes:Gabry-woman 90-18 \KamilTubes-451\orange
flowers_tubed_by_thafs.
Masks:alenza_masque51 \
Narah_Mask_1045
Back:
BACK6_RB
(Agradeço)
Marca
D'água . Efeitos do PSP.
Versão usada PSPX8.
Plugins
Plugin
Kiwi´s Oelfilter
Plugin
Mehdi
Plugin
MuRa's Meister
Plugin
Carolaine and Sensibility
Tutorial _Roteiro
Configurar:
Foreground
 #315170 \ Background #315170 \ Background  #9eb1af. #9eb1af.1-Abrir uma nova imagem
transparente de 1000 x 700 pxls.Preencher
com a gradiente formada pelas cores
acima. Configurar Linear \ Angle 0 e Repeats 3. Invert
marcado. 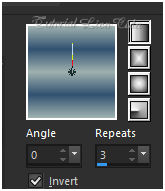 Adjust\ Blur\ Gaussian
Blur... R=26,00.
2-Plugin Kiwi´s Oelfilter \Zig -Zack.
Effects \Reflection Effects \ Rotating Mirror .
H = 0 \ R= 0 \ Repeat.
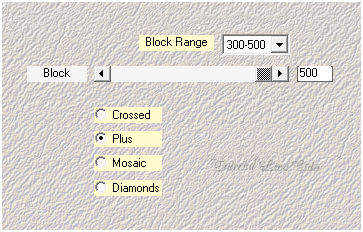
3- Plugin
Mehdi \ Sorting
Tiles...
Effects \Reflection Effects \ Rotating Mirror .
H = 0 \ R= 180 \ Repeat.
4- Plugin Mehdi \ Sorting
Tiles...
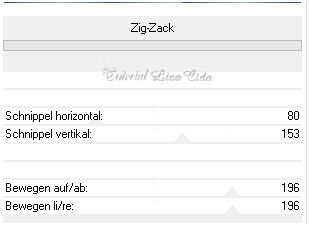
5-Plugin Kiwi´s Oelfilter\ Zig
-Zack_Default (2\2\128\128
).
Effects\ Edge Effects\
Dilate
Effects\ Edge Effects
\Enhance More.
6- Selections
\Load \ Save Selection \ Load Selection From Disk \ Load
\azullc2.PspSel.
Promote Selection to
Layer.
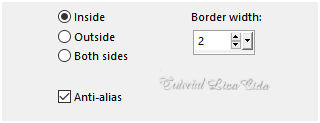
7- Selections \Modify\
Select Selection Borders.
 Nova layer
Preencher
color=#ffffff. Selections\ Select
none.
Layer\ Merge
Down.
Effects \Reflection Effects \ Rotating Mirror .
H = 0 \ R= 180 \ Repeat.
Effects\3D Effects\ Drop Shadow
_Default.
( repetir negativo em V e H \ (
menos) -10
).
*titar a visibilidade dessa
layer. 8- Nova layer .
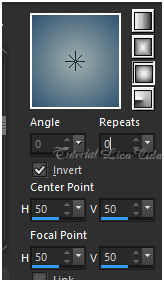
Preencher
com a gradiente formada pelas cores acima. Mudar a configuração
para Sunburst \ Repeats 0. Invert marcado.
CP e FP\ H e V
=50.
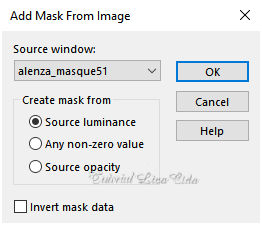
 9- Aplicar a mask
alenza_masque51.
 Layer \ Merge
Group.
Plugin \
MuRa's Seamless \ Emboss at Alpha... _Default.
Effects \Reflection Effects \ Rotating Mirror .
H = 0 \ R= 180 \ Repeat.
Effects\3D Effects\ Drop
Shadow_Default.
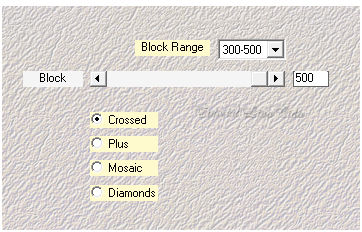
10- Layer\ Duplicate.
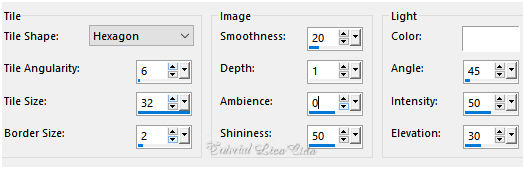
Effects \ Texture Effects \
Tiles...
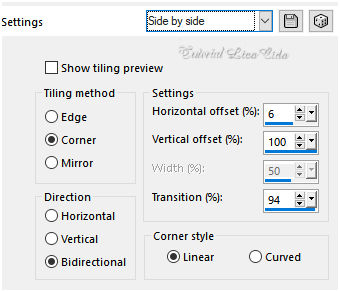
 11-Effects\ Image Effects\ Seamless
Tiling: Side by side.
 12-Plugin MuRa's Meister
\Perspective Tiling . Height 20 \ demais valores _Default.
Effects\3D Effects\ Drop
Shadow_Default.
Effects \Reflection Effects \ Rotating Mirror .
H = 0 \ R= 180 \ Repeat.
13- Volto a
Group-Raster2.
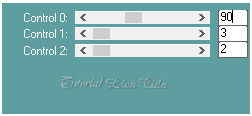
Plugin Carolaine and Sensibility\
CS-LDots...
14-Nova layer ( raster2 ) \ Preencher
color= #ffffff .
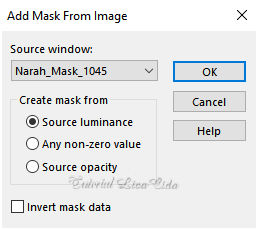
Aplicar a mask
Narah_Mask_1045.
 Layer \ Merge
Group.
Plugin \
MuRa's Seamless \ Emboss at Alpha... _Default.
Effects\3D Effects\ Drop
Shadow_Default.
Layer\ Arrange
Move Down.
*abrir a visibilidade
da layer Promoted Selection e
ativá-la.
15-Effects\ Image Effects\
Seamless Tiling
_Default.
Reforçar :Effects\3D Effects\ Drop
Shadow_Default.
16- Nova layer\Send to
Bottom.
Selections\ Select All .
Edit Copy no BACK6-RB
\ Edit Paste Into Selection. Selections\ Select
none.
layers\ blends\
opacitys
( use a gosto
)
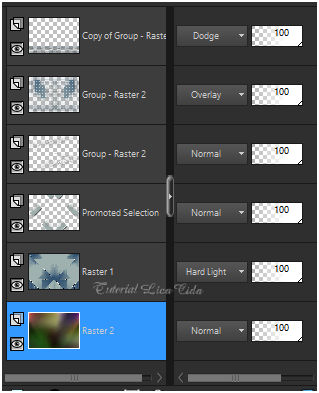 17- Ativar
a layer superior
.
Edit Copy
KamilTubes-451 ( usei a raster2 )\ Paste As New
Layer.
18-Image \ Add
Borders \ 2 pxls color
=#ffffff.
Image \ Add
Borders \ 20 pxls color
=#background.
Selecione.
Promote Selection to
Layer.
19-Edit Copy no BACK6-RB
\ Edit Paste Into Selection.
Selections\ Select
none.
blend
mode=overley
20-Image \ Add
Borders \ 1 pxl color
=#ffffff.
Image \ Add
Borders \ 30 pxls color
=#background.
Selecione.
Promote Selection to
Layer.
21-Edit Copy no BACK6-RB
\ Edit Paste Into Selection.
Selections\ Select
none.
blend
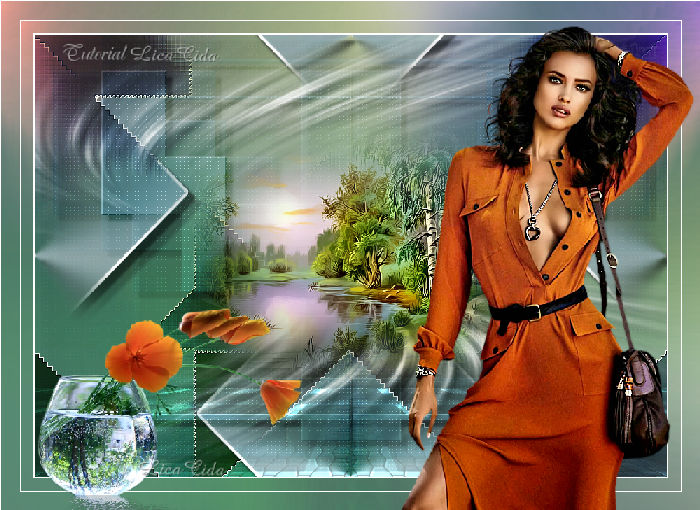
mode=overley 22-Edit
Copy Gabry-woman 90-18\ Paste As New
Layer.
Posicione
23-Edit
Copy orange flowers_tubed_by_thafs ( raster2 ) \ Paste As New
Layer.
Posicione.
Image \ Add
Borders \ 1 pxl color
=#ffffff.
Resize \ Width 1000pxls
Aplicar a Marca D'agua.
Assine e
salve. Aparecida \ licacida , maio de 2018.
Espero que gostem.
Obrigada!
 |