|
|
|
Versões Amigos
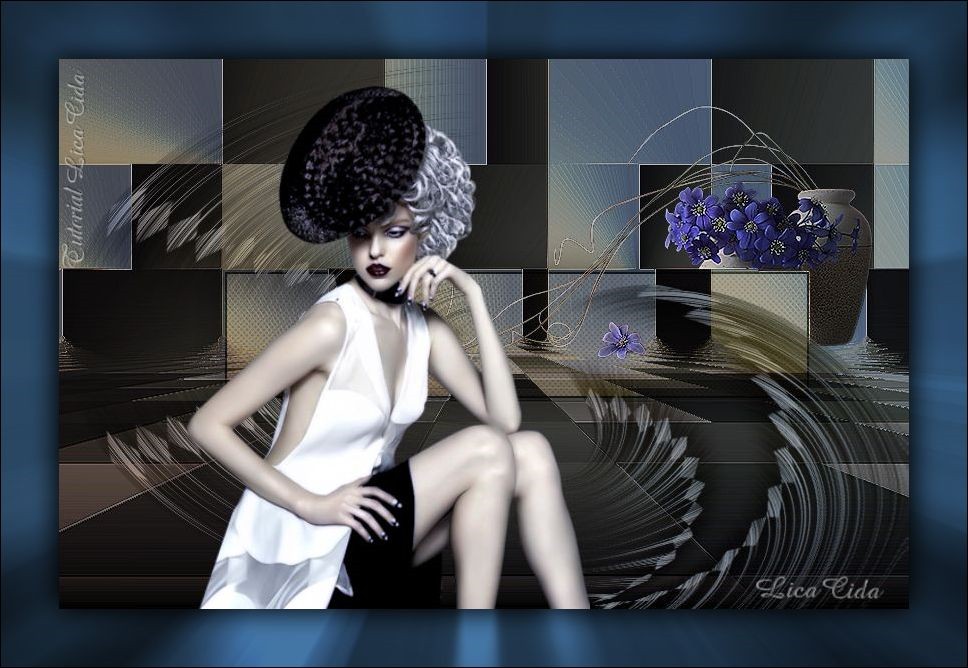
"Thinking"
Seleção: Narah_Sel47. Salve
em sua pasta de seleções My PSP
Files.
Tube: Gabry-woman-956.
Deco: deco
kTs_Luiza_Gelts28
Elementos : backcristalmp\
backraster2trabalhadolc.
Mask:
gradientedworisch.
Marca D'água. Efeitos do PSP.
Versão usada PSPX7.
Plugins
Plugin VM
Distortion.
Plugin Frischluft
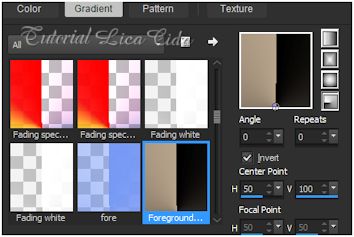
. Tutorial _Roteiro Foreground #b8a48c.
Background #000000.
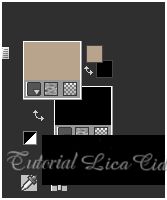 1- Abrir nova imagem transparente de 850 x 550 . Preencher color #000000.
2- Layers\ New Raster Layer. Preencher com o gradiente formado pelas cores retiradas do seu tube : #b8a48c e #000000. Configurar Radial. Angle 0 e Repeats 0. Invert marcado. CP= H 50\ V=100.
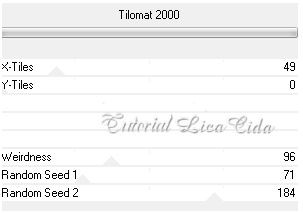
3- Plugin VM Distortion\ Tilomat 2000.
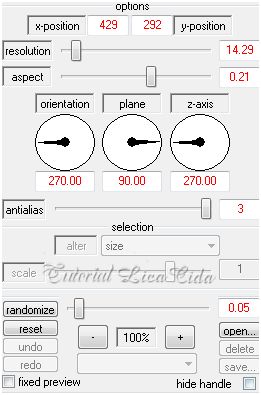
4-Plugin Frischluft \ Mosaic Plane. Default.
5-Seleção
Personalizada.
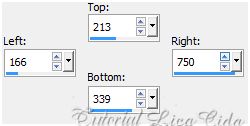 _Promote Selection to layer.
_Layers \ New
Raster Layer. Preencher color Background #000000.
6- Selections \ Modify \ Contract . Contract Selection 2
pxls. Delete.
_Layers \ New Raster Layer. Preencher color Foreground
#b8a48c. Opacity 40%.
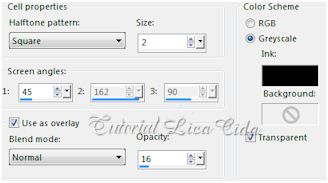
7-Effects\ Artistic Effects\
Halftone...
 _ Effects\ Edge Effects\ Enhance. Selections\ Select none.
_Layer\ Merge\ Merge Down _ Aplicar duas
vezes.
_Effects \ 3D Effects \
Drop Shadow 0\ 0\ 100\ 60,00. Color
#000000.
8-Selections \Load \ Save Selection \
Load Selection From Disk \ Load \Narah_Sel47.
_Layers \ New Raster Layer. Preencher color Foreground
#b8a48c. _Selections\ Select none.
_Effects \ 3D Effects \ Drop Shadow 0\
0\ 100\ 60,00. Color #000000.
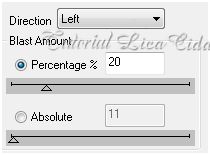
9-
Plugin dsb flux \ Blast ...
 !0- Effects\ Distortion Effects\ Polar
Coordinates.
_Rectangular to polar \
Transparent.
_Layer\Duplicate. Image \Flip . Layer\ Merge\ Merge
Down.
_Layer\Duplicate. Layer\ Merge\ Merge
Down.
_Layer\Duplicate.
11- Repetir : Effects\ Distortion
Effects\ Polar Coordinates.
_Rectangular to polar \
Transparent.
_Image\ Mirror. _Effects\Image Effects\ Offset: 41 \
-137. C e T marcados.
_Blend Mode=Screen.
_Layer\Duplicate. Blend Mode= Multiply. \
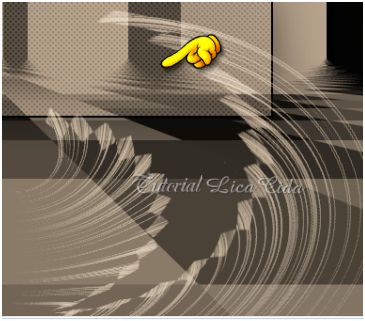
Opacity 65%. Layer\ Merge\ Merge Down. 12-Ativar a ferramenta Makeover.
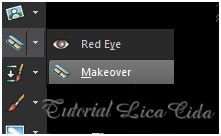 Thinity.
 Deixar o cursor no ponto que indico e clicar
três vezes .
 13-Ativar a Raster2.
_Aplicar a Mask gradientedworisch.
Layer \ Duplicate. Merge Group.
14- Layers \ New
Raster Layer.
_Selections \ Select
All. Edit Copy no backraster2trabalhadolc \Edit
Paste Into Selection.
_Selections\ Select none.
_ Layer\ Arrange\ Move
Down.
15-Volto a ativar ( agora ) Group-Raster2.
_Layers\ New Adjustment Layer\ White
Balance.
(
primeiro ativo tone balance ( Highlights )\ depois aplico valores \ use a
gosto )
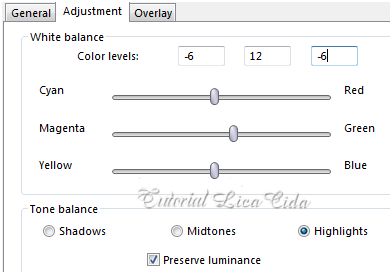
_Blend Mode= Screen . Opacity 65 %.
Layer\ Merge\ Merge Down.
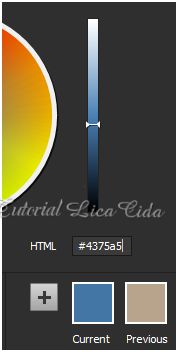
16-Clico no Foreground \ procurar a cor oposta.
(
#87a2bb)
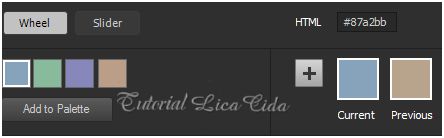 _Ver um tom mais escuro,
#4375a5.
 17-Ativar a Raster1.
_Layers \ New Raster Layer. Preencher com
essa cor.
_layers\ blends\ opacitys.
(
use a gosto)
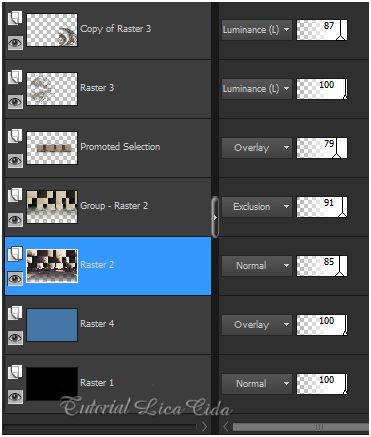
18-Ativar a layer Group-Raster2
_Copy tube deco kTs_Luiza_Gelts28\ Paste As New Layer. Image\Mirror. Resize
80%.Posicione.
_
Duplico \ Layer\ Arrange\ Move Up.
Com a borracha size 60 retiro o que fica aparente
na layer Promoted.
19- Ativar a layer
superior. Copy no tube
Gabry-woman-956.
Paste As New Layer. Resize e posicionamento a
gosto.
20-Copy
no backcristal \Paste
As New Layer.
Image \Add Borders \1 pxl
symmetric marcado. Color= #000000.
Borda e acabamento a gosto.
Aplicar a Marca D'agua.
Assine e salve.
Espero que gostem. Março
de
2015. 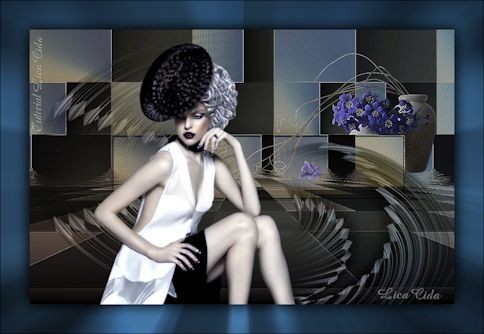 |