|
|
|
Versões Amigas
Tutorial " Sem Você"
Scrip _ flood (Guardar em sua pasta de Scripts Restricted). Mask arquivo: 32 ( mara pontes) Arquivo : SS-light-beams_6 ( mara pontes)
Tubes:
tube 2899-luzcristina \tube 1973-marapontes_mulher.
Marca D'água.
Efeitos do PSP.
Versão usada PSPX6.
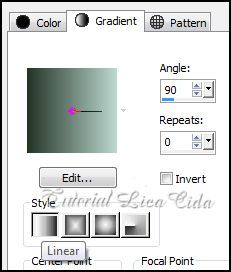
2- Nova Layer.
Pintar com a mesma gradiente formada no ítem 1. Mudar
Invert Marcado.
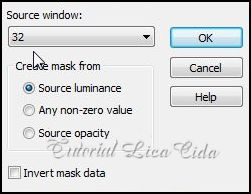
3-Aplique a
32( mask arquivo) _
marapontes.
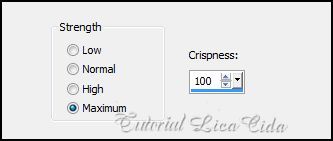
* Effects\ Edge
Effects\ Enhance More .
*Layer\ Merge \ Merge Group.
4-Effects \3D Effects\ Drop Shadow.
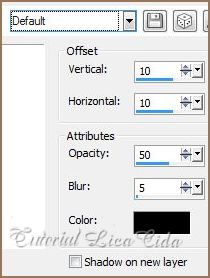
*Repetir os valores V e H negativos.
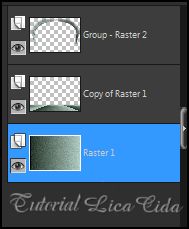
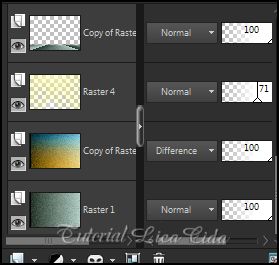
5- Ativar a Raster1 .
Adjust \ Add \ Remove Noise\ JPEG Artifact
Removal.
6- Plugin FMTT \ Blend Emboss.
Layer\
Duplicate .
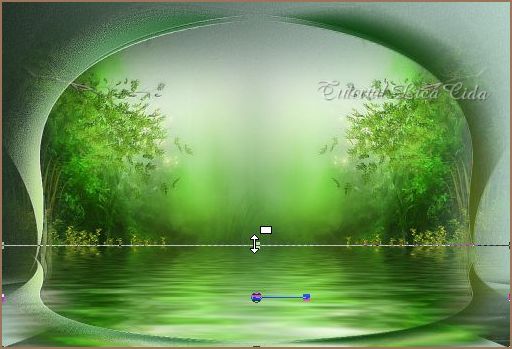
7-Image \Canvas Size _1024 x 700 _Bottom 100.
8-Plugin MuRa's Meister\ Perspective
Tiling.
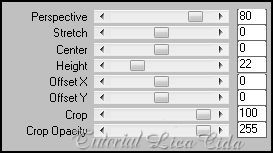 *Com a Ferramenta Magic Wand \ Feather 50 \ Clique na parte transparente . Veja configuração :
Deletar ( cinco vezes ). Selections \ Select none.
9-Ativar a Raster1. Com a Ferramenta Pick puxe a gradiente até o final do top.
10-Ativar a Copy of Raster 1 ( Perspective Tiling ). Edit Copy no tube 2899-luzcristina\Paste As New Layer.
11-Effects \ Image Effects Offset.
(menos) - 216\ 0.
*Layer \ Duplicate. Image \ Mirror.
*Layer\ Merge\ Merge Down.
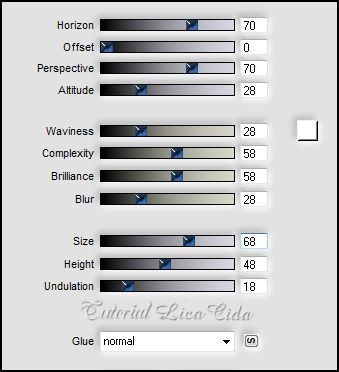
12-Plugin Flaming Pear\ Flood.
Color=#ffffff.
13-Nova Layer. Correr o Script flood.

*Procurar o script flood.
*
Clique para corrê-lo em Run Selected Script .
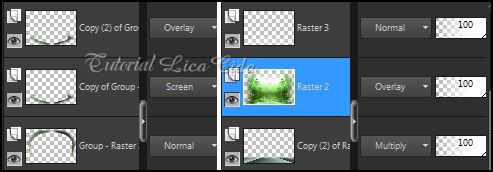
14-Ativar a layer superior. Group _Raster2.
Plugin Nik Software \Color EfexPro 3.0 \
Bi-Color Filters .Color Set \ Moss 2.
*Layer\ Duplicate.
Imagem \Flip .
Puxe como no
print.
15- Effects \ Distortion Effects\ Pinch.

16-Clique na layer Raster1.
Edit Copy no arquivo SS-light-beams_6 \Paste As
New Layer.
17-Volto a Raster1. Layer\ Duplicate.
Plugin Nik Software \Color EfexPro 3.0 \ Bi-Color Filters .Color
Set _Cool \Warm 1.
*Voce
pode duplicar as layers\ mudar os blends a seu gosto.
Layers\ Blends\ Opacitys.
As primeiras layers opacity 100%.
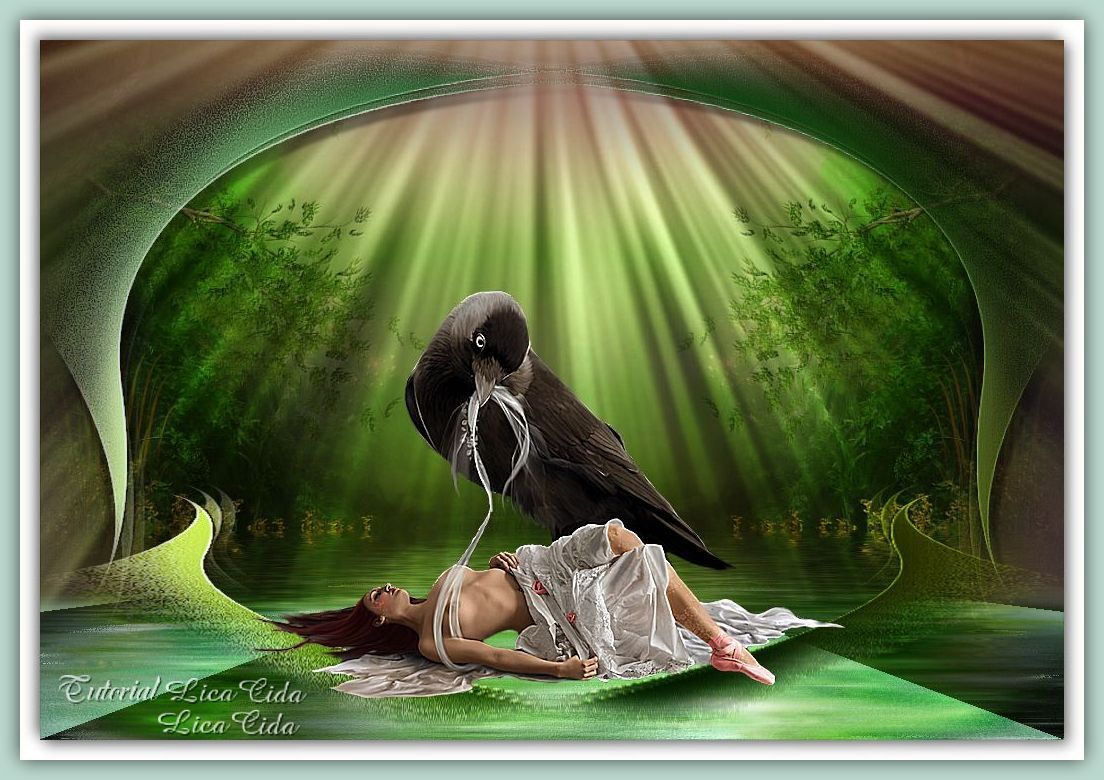
18-Edit Copy no tube 1973-marapontes_mulher\Paste
As New Layer. Resize 80%. Posicione.
*Adjust \ Sharpness \ Sharpen More.
Acabamentos a gosto.
Aplicar a Marca D'agua.
Assine e salve.
Espero que gostem.
Aparecida / licacida, Junho de 2014.
Rio de Janeiro_Brasil   |