Top
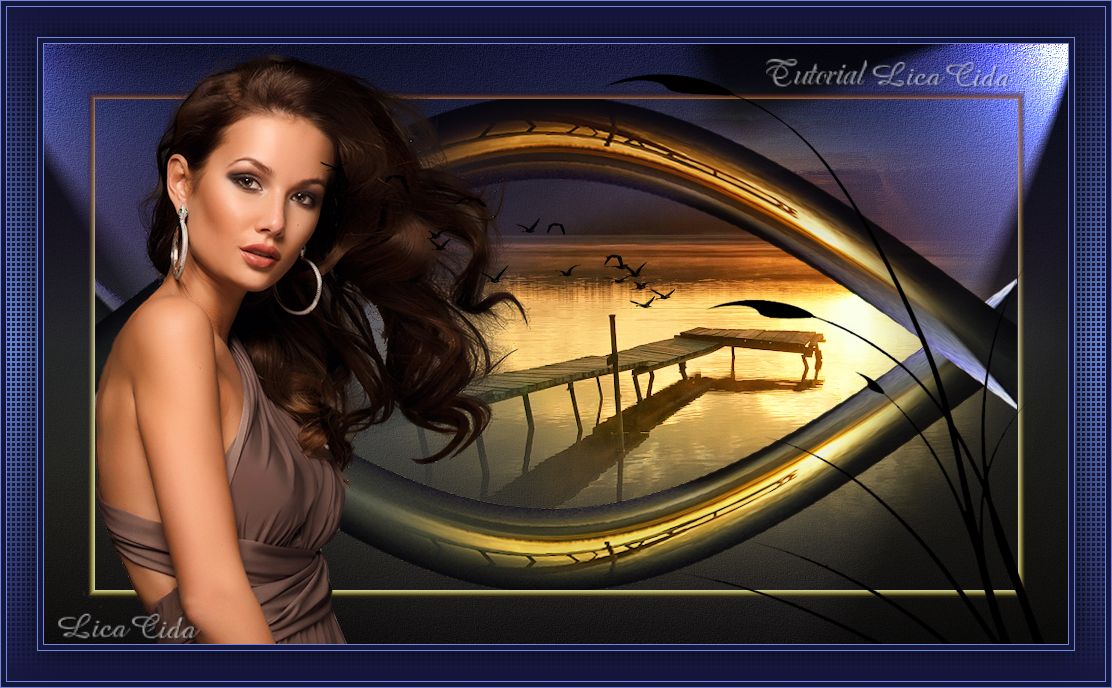
"Plenitude"
***Dedico
o tutorial a querida amiga Chichi, com carinho.
Preset
Illumination\ Lights \ lightslc6 (guardar em sua pasta de Presets My PSP
Files)
Tubes:
tube1353_mulher_mara_pontes\
bird_brushes_II_by_lpdragonfly_5\
calguisvectordecor12110\
Grisi_Misted_Land_348.
2-
Adjust \ Add \ Remove Noise\ JPEG Artifact Removal. Maximum \ 80.
3-Plugin
FMTT\ Blend Emboss.
4-Effects \Illumination Effects \ Preset
Illumination\Lights\ lightslc6 .
5- Edit
Copy no tube Grisi_Misted_Land_348 \ Paste As New Layer
.
Resize 90% duas vezes. Posicione um
pouco a direita (( direcione a luz)) .
Layer \Merge \ Merge Down.
Layer Duplicate.
6-Effects\
Geometric Effects \ Perspective Horizontal . Distortion 80.
Transparent.
Repetir usando
Distortion (negativo) -80. Transparent.
7-Image\Rotate Left.

Com a
Ferramenta Makeover dar pequenos cliques no efeito e deixar como o
print.


8- Plugin Distort\ Shear...


9-Image\ Rotate Right.
Layer Duplicate. Image Flip.
Layer \ Merge \ Merge
Dow.
10- Resize
90%.
Com a
Ferramenta Selection \Rectangle ( Default ) faça um retangulo como mostra o print
abaixo.
Selections\
Edit Selections.
Ativar a
Ferramenta Pick ( mode Scale ) .Usar para aumentar ou diminuir
o retangulo formado.
Ajustar sobre o
efeito como mostra o print.

Selections\ Edit Selections.
11-
Effects \3D Effects \Chisel... S=8 \ Transp.
Color=#c1cbe9
Select none.
12- Layer Duplicate.
Plugin
Nik Software\ Color EfexPro 3.0 \ Bi-Color filters \Color Set:
Brown1.
13-
Ativar a Raster1 . Layer Duplicate.
Repetir o
Plugin Nik Software\ Color EfexPro 3.0 \ Bi-Color filters \Color Set:
Brown1.
Layers\ Blends\ Opacitys
14-Edit Copy no
tube 1353-mulher-mara-pontes /Paste As New Layer. Posicione e resize
a gosto.
Edit Copy no tubes
bird_brushes_II_by_lpdragonfly_5 e calguisvectordecor12110 \Paste As
New Layer. Decore a gosto.
15-Image \ Add Borders \ 1 pxl symmetric
marcado. Color= #6d8bdb
Image \ Add Borders \ 5 pxls symmetric
marcado. Color=#16163e
Image \ Add Borders \ 1 pxl symmetric
marcado.Color= #6d8bdb
16-Image \ Add Borders \ 30 pxls
symmetric marcado.Color= #ffffff.
Seleciona com a ferramenta Magic Wand
e pintar com o gradiente usado no ítem 1.
17-Plugin AAA Frames\ Foto Frame...
Width 30 . Demais valores default.
18-Effects\
Texture Effects\ Weave. Color=#16163e.
Select
none.
19- Repetir o ítem
15.
Aplicar a
Marca D'agua.
Assine e
salve.
Aparecida / Licacida, Janeiro de
2014.


