|
|
|
Tutorial "Tag Favorita"
***Dedico
carinhosamenta a amiga Angela das Graças pela passagem do seu aniversário
em 22\02.
Preset Illumination\ Lights \ lightshistory ( mara
pontes) (guardar em sua pasta de Presets My PSP
Files) Tube:PSPCYBERTUBES-tube2011-386 Back: JHanna_498 background . Masks:chmasks_portrait3 \
Narah_mask_0484. Marca
D'água.
Efeitos do PSP.
Versão usada PSPX6.
Plugins
Plugin\ Graphics Plus \Vertical
Mirror
Plugin MuRa's Meister\ Copies.
Plugin Nik Software \Color EfexPro
3.0.
Tutorial
\ Roteiro
1- Abrir a imagem transparente
de 988x600. Select all \ Edit copy no back :background JHanna_498
\ Edit Paste Into Selection . Selections \ Select
none. ( use o back a gosto).
Adjust\ Sharpness\
Sharpen.
2-Layers \Duplicate. Adjust\ Blur\ Gaussian
Blur...R=70,00.
3-Layers\ New Mask Layer\ From
Image...
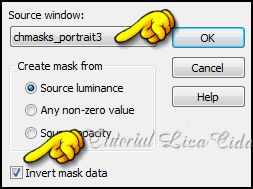
Emboss 3. Layers \ Merge \ Merge
Group.
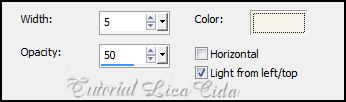
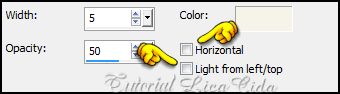
4-Effects \Texture
Effects\ Blinds. Color=#f6f2e8.
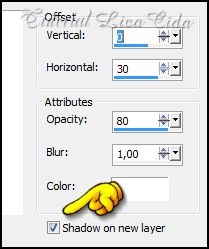
 5-Effects \
3D Effects \ Drop Shadow: 5\5\80\5,00.
Color=#000000.
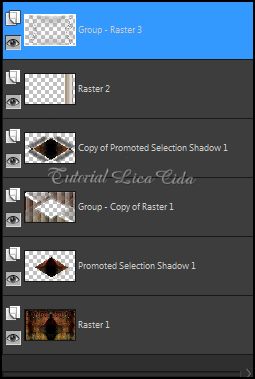
6-Ativar a Raster
1.
Selections
\Load \ Save Selection \ Load Selection From Disk \ Load
selangela1lc.
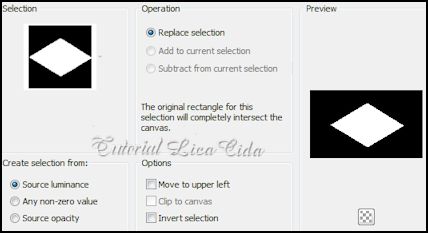 Promote Selection
to Layer . Selections \ Select none.
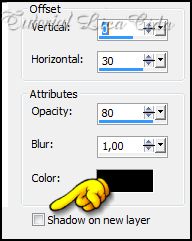
7-Effects \
3D Effects \ Drop Shadow. Color=ffffff.
 8- Plugin MuRa's
Meister\Copies_Default
 9-Repetir ítem 4 (
texture blinds). Color=#543926.
Ativo a
Layer Promote Selection . Layers \ Merge \ Merge
Down. 10- Layers\
Duplicate. Image Flip .
Effects \ 3D
Effects \ Drop Shadow. Color=000000.
 Layers\ Arrange\
Move Up.
11-Plugin\
Graphics Plus \Vertical Mirror . Default (128\0).
Layers\
Duplicate. Image Mirror. Layers \ Merge \ Merge
Down.
12-Repetir ítem 5:
Effects \ 3D Effects \ Drop Shadow: 5\5\80\5,00. Color=#000000 e
negativo (menos) -5\ (menos)-5.
13-Layers\ New
Raster Layer...
Selections
\Load \ Save Selection \ Load Selection From Disk \ Load
selangela2lc. Pintar Color=#f6f2e8.
 14-Repetir ítem 9 ( texture blinds).
Selections \ Select none.
15-Repetir ítem
12: Drop Shadow. 16-Layers\ New
Raster Layer... Pintar Color=#ffffff.
Layers\ New Mask
Layer\ From Image...
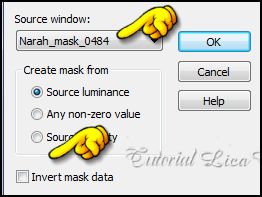 Emboss 3. Layers \ Merge \ Merge
Group.
17- Repetir ítens 11 e 5. Layers_Tutorial
18-Ativar a Raster 1 .
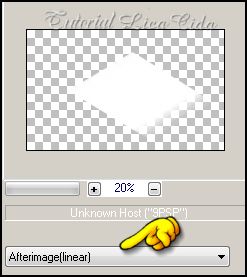
Effects \Illumination Effects \ Preset
Illumination\Lights\history.
19-Duplicar as layers como print e usar o Plugin
Nik Software \Color EfexPro 3.0 \ Bi-Color Filters a gosto, de acordo com
as cores usadas.
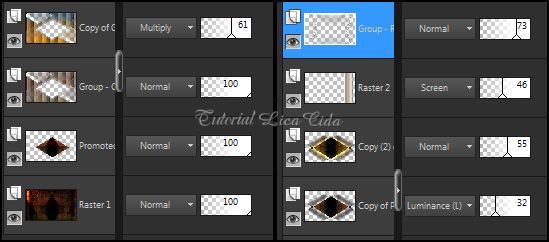
LAYERS\
BLENDS\OPACITYS
(( Use a
gosto))
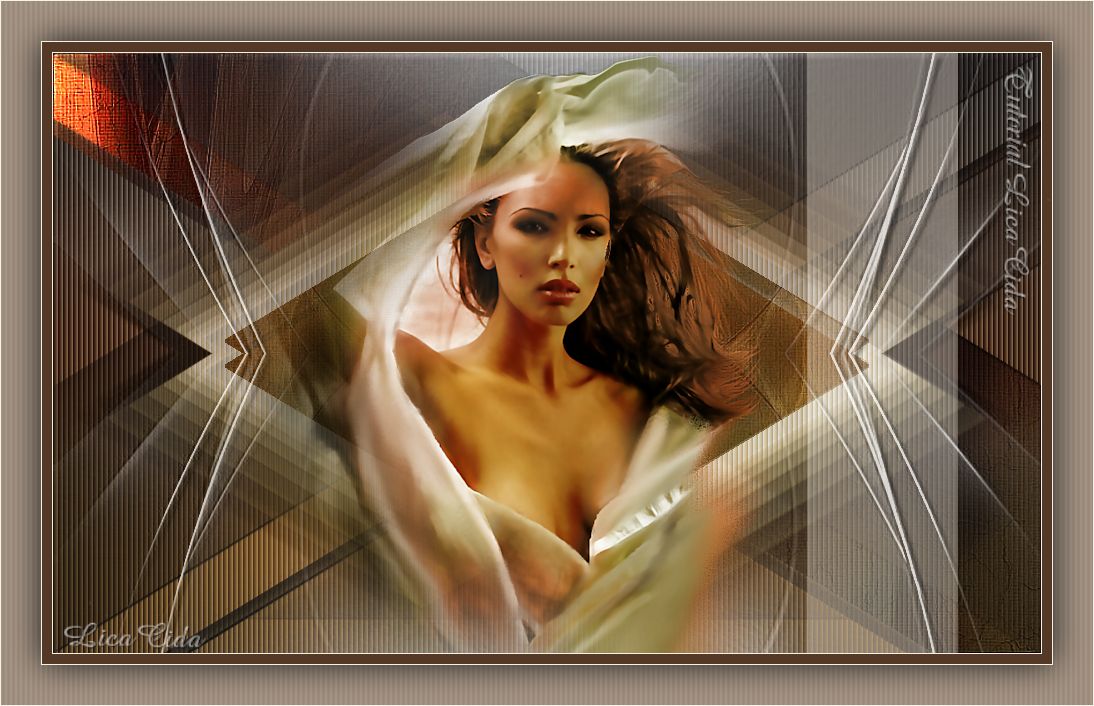
 20-Edit
Copy no tube PSPCYBERTUBES-tube2011-386 \Paste As New
Layer. Resize 80%.
Posicione a
gosto.
21-Image /
Add Borders /1 pxl symmetric marcado.Color=
#f6f2e8.
Image / Add
Borders /10 pxls symmetric marcado.Color= =#543926.
Image / Add
Borders /1 pxl symmetric marcado.Color= #f6f2e8.
22-Image /
Add Borders /40 pxls symmetric marcado.Color=
=#543926.
Selecione. Promote Selection to
Layer.
23-Effects
\Texture Effects\ Blinds. Color=#f6f2e8.
 Repetir:
 24-
Selections\ Invert. Effects \ 3D Effects \ Drop
Shadow: 0\0\80\50,00. Color=#000000.
Selections \
Select none.
25-Image /
Add Borders /1 pxl symmetric marcado.Color=
#f6f2e8. Aplicar a Marca D'agua.
Assine e salve.
Espero que gostem. Aparecida / Licacida, Fevereiro de
2014.
Rio de Janeiro_Brasil
 |