4- Adjust\
Add\ Remove Noise\ JPEG Artifact Removal. Maximum 89. Plugin
FMTT\ Blend Emboss.
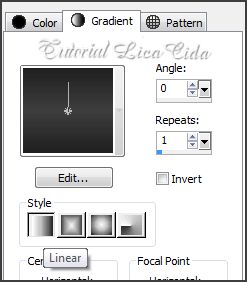
5-
Layer Duplicate\ Image Mirror. Layer \ Merge\ Merge
Down.
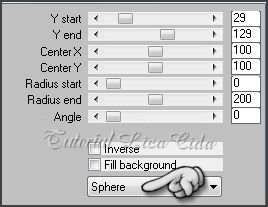
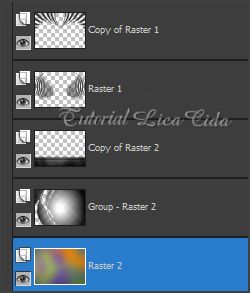
6-Layer Duplicate . Plugin MuRa's Meister
\Pole Transform .
7-Image \ Canvas Size _988
x 700_Bottom 100.
8-New
Layer. Layer\ Arrange \ Send to Botton . Pintar com o
mesmo gradiente formado no ítem 3.
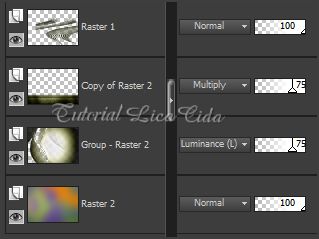
9-Layer Duplicate. Tirar a visibilidade da
Raster2. Plugin
Neology \ Digital Weaver 132\105.
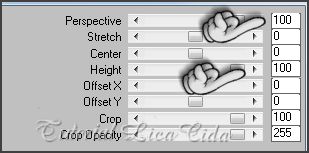
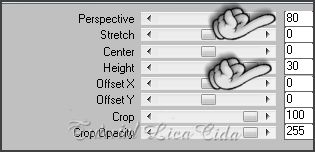
10-Plugin
MuRa's Meister\ Perspective Tiling.
11-Repetir
o Plugin MuRa's Meister/ Perspective Tiling, mudando
os valores:
12-Plugin
Graphics Plus \ Cross Shadow ( default ) . Emboss
3.
13- Selecionar com a
Ferramenta Magic Wand \\Tolerance10 a parte superior (
a transparente ) . Selections\ Modify\
Feather \ 50 . Delete ( três a quatro vezes).
Selections / Select none.
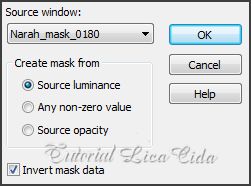
14-Ativar a Raster
2. Layers\ New Mask Layer\ From Image . Invert mask data
marcado.
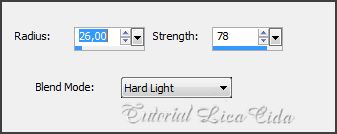
15- Adjust \Add\ Remove Noise\JPEG
Artifact Removal. Maximum 89. Adjust\ Sharpness\High
Pass Sharpen ( duas vezes).
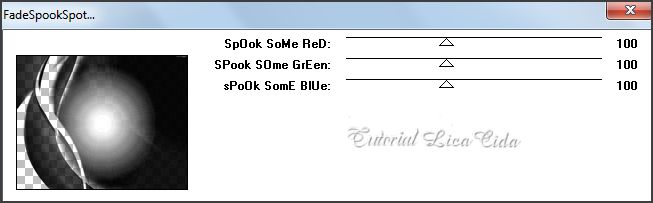
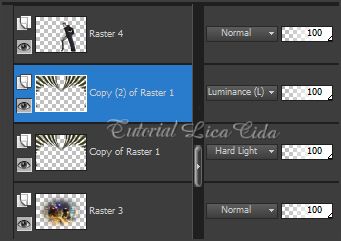
16- Layer
\ Merge \ Merge Group. Plugin \ Two Moon
\FadeSpookSpot...
17-Emboss3 .
New Layer. Layer\ Arrange \ Send to
Botton . Select all \ Edit Copy no backrb\ Edit
Paste Into Selection . Selections \Select
none.
Layers
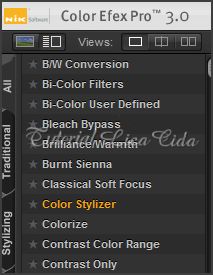
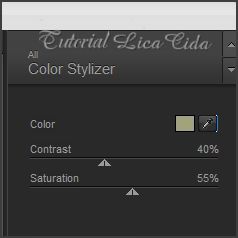
18-Plugin Nik Software\ Color EfexPro 3.0 \
Color Stylizer Color= #a3a37b ( usar a cor que favoreça
seu trabalho).
( Usar em
todas as layers, menos a Raster2 )
19-Effects
/ 3D Effects / Drop Shadow. 5\ 5\ 80\ 5,00
. Color=#000000.
( Usar em
todas as layers, menos na Raster2 e Copy of Raster
2).
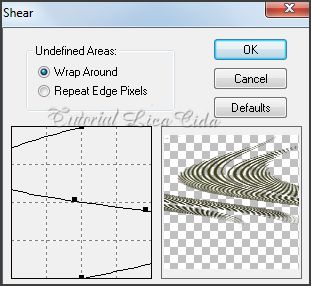
20-Ativar
a Raster1. Plugin Distort\ Shear.
21-
Image\ Flip . Effects\ Image Effects Offset. 152\ 0.
Transparent.
22-Edit Copy nos tubes escolhidos \ Paste
As New Layer . Posicione.
Layers
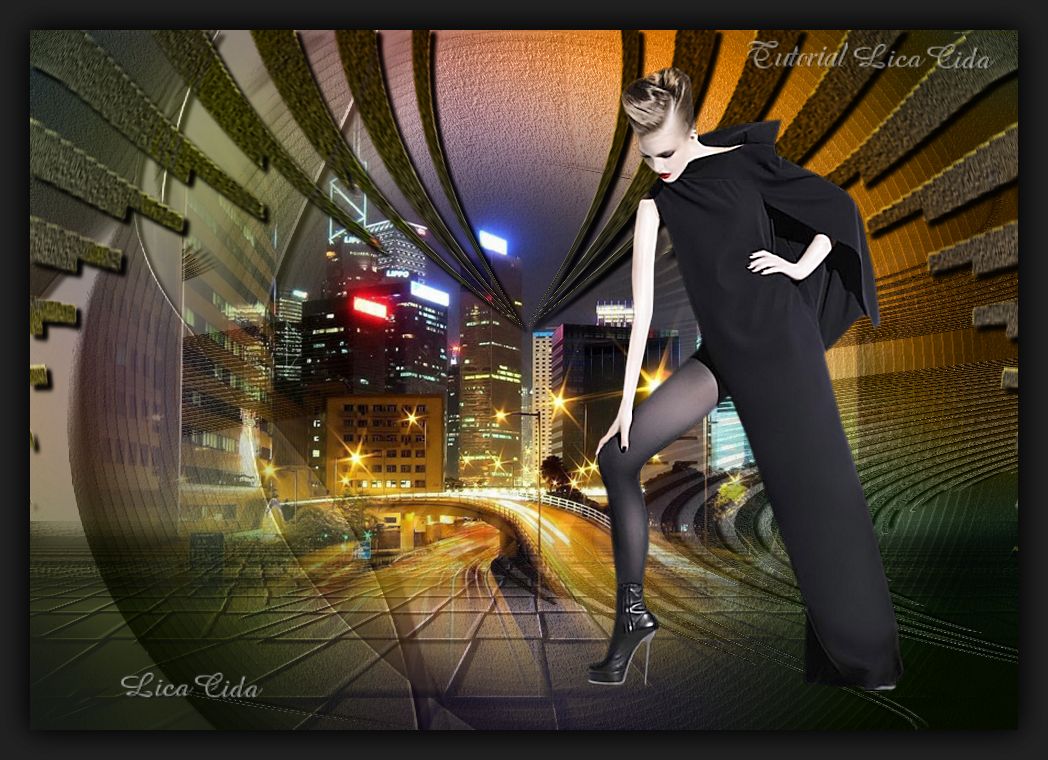
Aplicar a Marca D'agua.
Assine e salve.
_Formate e decore seu top a gosto.
Espero que gostem.
Aparecida / Licacida, Setembro de
2013.