|
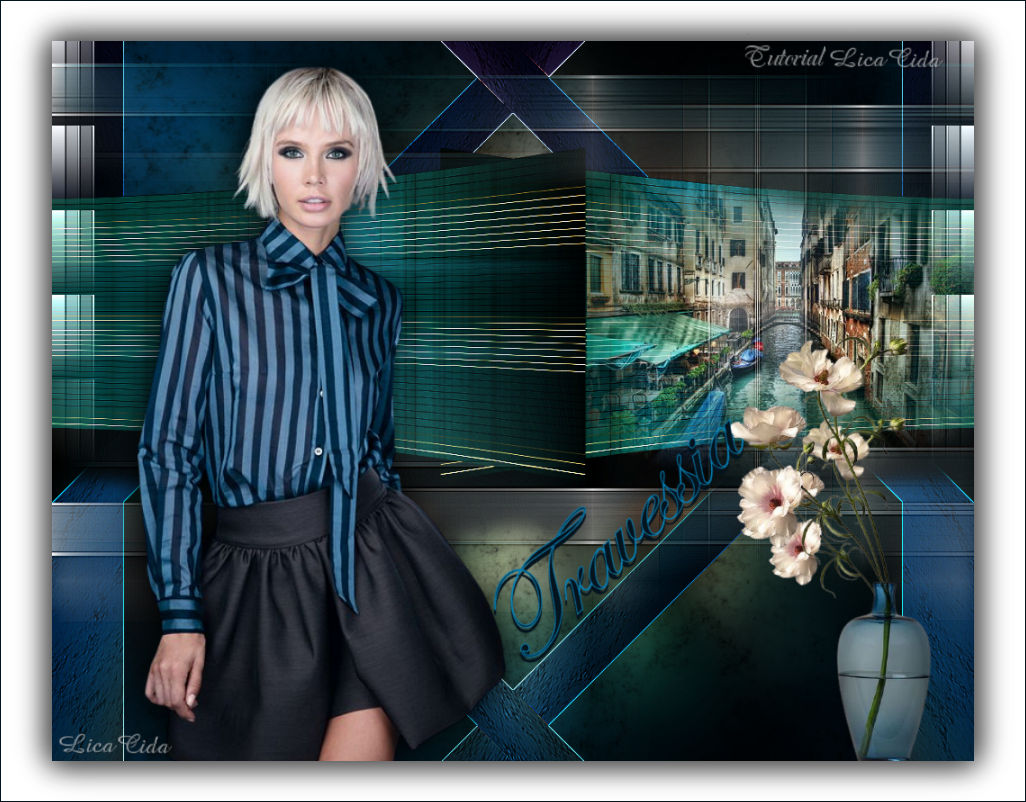
"Travessia"
Material
Aqui
Back:imagemmp- travessia.
Tubes:404MulherByPqnaAlice \Callitubes-190misted
Callitubes-115flores.
Decor :HuzunluYıllar_18.
Titulo: titulotravessia_bylc.
(Agradeço)
Marca D'água .
Efeitos do PSP.
Plugins
 _Dirt Dust
Plugins L en K's\ Mayra
Plugin Simple
Plugin Nick Software
Tutorial
Configurar
foreground #04141f \ background #0685bc.
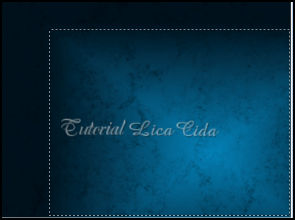
1-Abrir a imagemmp- travessia _anexada ( raster1 )
2-Layers \ New Raster Layer. Layers \Arrange\ send to Bottom.
3- Preencher com o gradiente rectangular , usando as cores
configuradas acima.
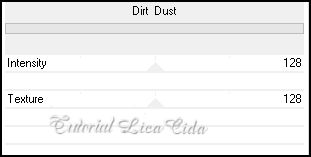
4- Plugins \
Dirt Dust. \
Dirt Dust.
* Tirar a
visibilidade da raster1.
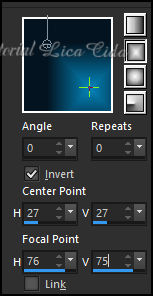
5- Selecionar o gradiente como mostra o print.
_Promote
Selection to Layer.
6-Plugins L en K's\ Mayra_Default ( 0 \149 \76\ 2 )
Selections\ Select none .
7-Ferramenta Pick Tool _Position X 282 _ Position Y 106. Tecle M
para desativar a ferramenta.
8-Effects\ Geometric Effects\Perspective-Horizontal.
D: 36\Transparent.
Layers Duplicate.
Image Mirror Horizontal. Layers \ Merge \ Merge Down.
9- Effects\ Distortion Effects\ Pinch . S(%) 100.
10-Effects\ Image Effects\ Offset.
0\100 ( custom e transparentes marcados).
11-Edit Copy noCallitubes-190misted\Paste As New Layer.
Posicione a gosto ao lado esquerdo do efeito.
*Adjust \ Sharpness \ Sharpen .
Image\ Resize
80%
12-Layer
inferior: Promoted Selection.
Effects \ 3D Effects \ Drop Shadow: 52 \ 0 \ 76 \ 30,00 _Color:
#000000 .
13-Ativar a layer Raster2.
Plugin Simple\ Quick Tile.
14-Selections \Select All .Edit Copy no Callitubes-190misted\ Edit
Paste Into Selection .
Selections\ Select none .
15-Adjust \ Blur\ Gaussian Blur... R :24,00.
16-Edit \ Repeat
ítem4 ( \ Dirt
Dust ). \ Dirt
Dust ).
17-Selections \Select
All. Selections\ Modify \ Contract _ 80 pxls.
Invert.
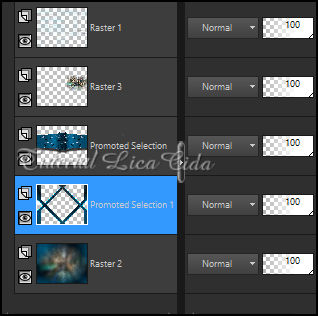
_Promote Selection to Layer.
Selections\ Select none .
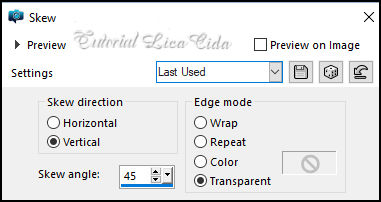
18-Effects\ Geometric Effects\ Skew.
Layers Duplicate.
Image Mirror Horizontal. Layers \ Merge \ Merge Down.
*Effects \ Edge Effects \ Enhance More.
*Voltar a visibilidade da Raster1. Ativar a layer.
Layers \conferir.
19-Edit Copy no
tube 404MulherByPqnaAlice\Paste As New Layer.
Posicione a gosto .Drop Shadow como preferir.
20-Ativar a layer Raster2. Layers Duplicate.
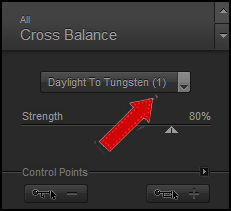
_Plugin Nick Software\ Color EfexPro 3.0\Cross Balance.
Properties \ General \Blend Mode Hard Light
19-Edit Copy no
tube 404MulherByPqnaAlice\Paste As New Layer.
Posicione a gosto .Drop Shadow como preferir.
20-Ativar a layer Raster2. Layers Duplicate.
_Plugin Nick Software\ Color EfexPro 3.0\Cross Balance.
Properties \ General \Blend Mode Hard Light
22-Ativar a
layer Promoted Selection. Layers Duplicate.
_Plugin Nick Software\ Color EfexPro 3.0\Bi-Color Filters . Color
Set _Brown4_ Default.
Properties \ General \Blend Mode Overley
23-Ativar a
layer do topo.
Edit Copy no Callitubes-115flores\Paste As New Layer.
Posicione a gosto .Drop Shadow como preferir.
24-Edit Copy no HuzunluYıllar_18\Paste As New Layer.
Objects\ Align\ Top.
Objects\ Align\Left.
Properties \ General \Blend Mode Luminance (L)
Layers Duplicate.
Image Mirror Horizontal. Layers \ Merge \ Merge Down.
25-Edit Copy no titulotravessia_bylc\Paste As New Layer.
Posicione a gosto.
Borders
Image \ Add Borders \ 1 pxl color =#04141f ( fore).
Resize 90%
Layers \ New
Raster Layer. Layers \Arrange\ send to Bottom.
Preencher color #ffffff.
Effects \ 3D Effects \ Drop Shadow: 0 \ 0 \ 80 \ 40,00 _Color:
#000000 .
Image \ Add Borders \ 1 pxl color =#04141f ( fore).
Aplicar a Marca D'agua.
Assine e salve.
Resize _Width 1024 pxls.
Aparecida \ licacida , setembro de 2022.
Espero que apreciem.
Obrigada!

:::...VOLTAR...:::
|