|
"Axion"
Material Aqui
Plugin _axion.
Seleções: Imagem "alphachannel_axion" _ Seleção1_Seleção2.
Guardadas em Canal Alpha a Imagem "axion " .
Tubes:889MulherByPqnaAlice.
Decor: Callitubes-246decor\ Callitubes-360decor\decoraxion_lc\decoraxion2_lc
Callitubes-277flores
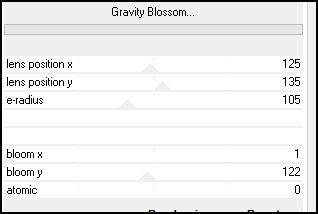
Efeito_FFG_Q _Gravity Blossom....lc
(Agradeço)
Marca D'água .
Efeitos do PSP.
Plugins
Plugins Axion \ Lens Flare.
*Plugin Alien Skin Eye Candy 5
FFG_Q \Gravity Blossom...
Plugins Andromeda
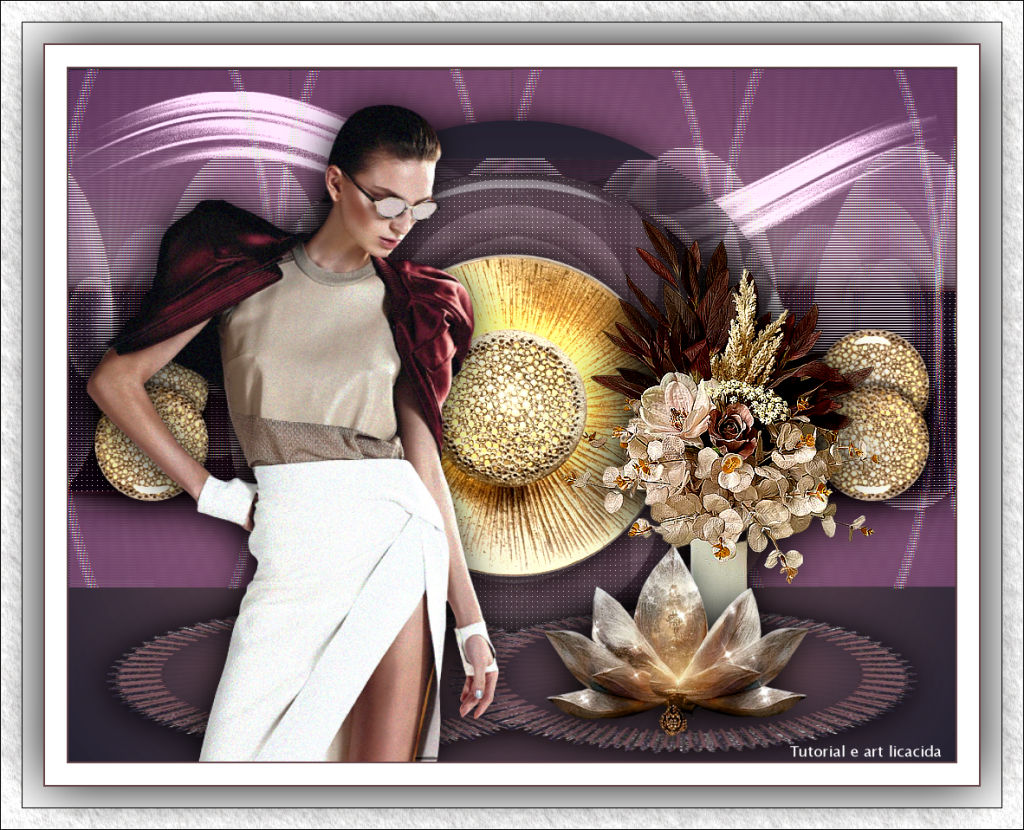
Tutorial
Configurar
Foreground = #1d1b26 \ #654549 =Background
1-Abrir o arquivo alphachannel.
_Selections \Load \ Save Selection \Load Selection From AlphaChannel
\ Selection#1.
2-Preencher com o gradiente Linear. Angle e Repeats 0 , invert
marcado.Formado pelas cores configuradas acima.
3- Plugins Axion \ Lens Flare.
Selections\ Select none.
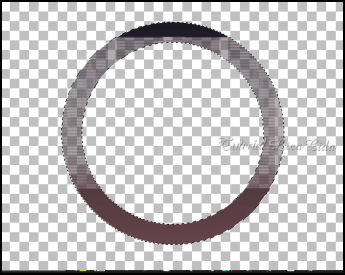
4-Com a ferramenta Magic Wand, Tolerance e Feather 0, selecionar o
centro do círculo.
_Layers \ New Raster Layer.
_ Layers\ Arrange \Move Down.
5-Flood Fill _Opacity 50%.
_Preencher com o gradiente Sunburst, Repeats 0 . CP e FP =50.
Formado pelas cores configuradas acima.
6- Plugins \ Carolaine & Sensibility _ CS-LDots:
255\3\2.
_Normalizar flood fill\ Opacity 100%.
(*Deixe selecionado)
**Atenção, vamos preparar o fundo para o círculo!
_Deixe reservada essa imagem ... minimize.
A-Abrir nova imagem transparente de 1024 x 800 .
Preencher com o gradiente Sunburst. Formado pelas cores configuradas
acima ( igual ítem5)
B- Plugins Axion \ Lens Flare.
( mesmos valores usados acima_ ítem3)
C-Image \Resize 80%
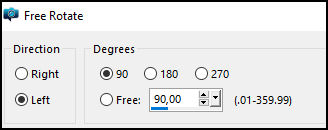
D- Image\ Free Rotate.
E- FFG_Q \Gravity Blossom...
_Effects \Reflection Effects \
Rotating Mirror . 0\0 _Reflect.
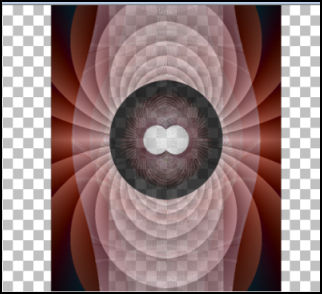
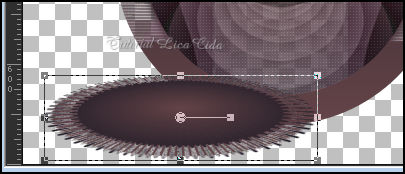
A imagem deverá estar assim.
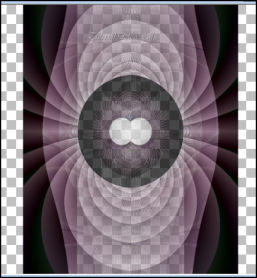
*Teste em outra cor.
Edit Copy\ maximiza a imagem
reservada.
7-Layers \ New Raster Layer_ Layers\ Arrange \Move Down.
Edit Paste Into Selection .
8- Effects\ 3D Effects\ Chisel.
Size 7\Transparent\ Color Background.
Selections\ Select none.
9-Plugin Alien Skin Eye Candy 5: Impact \ Glass... Clear ou outro a
gosto,
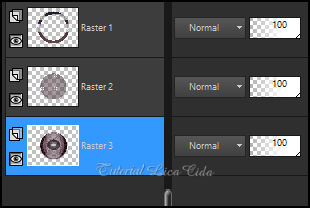
_Tirar a visibilidade da
raster1. Layers\ Merge\ Visible.
_ Abrir a visibilidade da raster1e ativá-la. Layers Duplicate.
10-Com a ferramenta Magic Wand, Tolerance e Feather 0, selecionar o
centro do círculo.
_Flood Fill _Opacity 100% _Preencher com o gradiente Sunburst. (
print ítem 5).
Selections\ Select none.
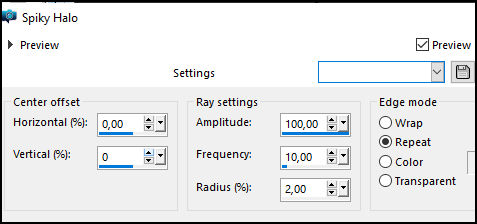
11- Effects\ Distortion
Effects\ Spiky Halo.
12- Plugins Andromeda\
Perspective .
13-Effects\ Image Effects\
Offset.
-200\ -284 ( custom e transparentes marcados).
_Use o ferramenta Pick Tool (k) \ desça o efeito como print.
_Layers Duplicate\ Image Mirror
Horizontal.
Layers\ Merge Down.
14- Layers \ New Raster Layer. Arrange Send to Bottom.
_Selections \Load \ Save Selection \Load Selection From AlphaChannel
\ Selection#2.
15-Preencher com o gradiente Sunburst. ( print ítem 5).
16- Plugins \ Carolaine & Sensibility _ CS-LDots:
255\3\2.
17- Effects\ 3D Effects\ Chisel. ( print ítem8)
Selections\ Select none.
18- Layers \ New Raster Layer. Arrange Send to Bottom.
_Preencher com o mesmo gradiente Sunburst.
Layer Dupicate.
19-Aplicar o Plugins Axion \ Lens Flare ( mesmos valores ítem 3).
layers\conferir ( blends \ opacitys a gosto)
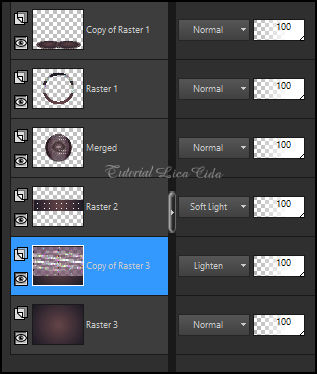
*Plugin Alien Skin Eye Candy 5 :
Impact\ Perspective Shadow_use a gosto.
_Aplicar nas quatro primeiras layers ( efeitos ) acima.
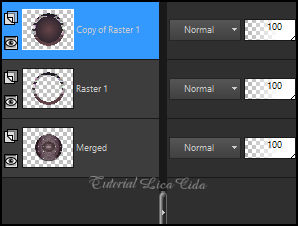
20-Layer Merged.
_ Edit Copy no Callitubes-246decor \ Paste As New Layer . Resize 80%
Posicionado . Shadow a gosto.
21- Edit Copy no decoaxion2_lc \ Paste As New Layer .
Posicionado . Shadow a gosto.
22-Edit Copy no decoraxion_lc\Paste As New Layer .
_Ferramenta Pick Tool _Position X -22 _ Position Y 27. Tecle M para
desativar a ferramenta.
_Usar abaixo da layer raster2. Duplico a layer ( raster2)
Layers\ Merge Visible
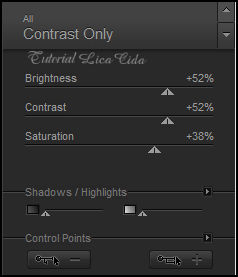
23-Opcional: Plugin Nick Software\ Color EfexPro 3.0
Contrast Only ou outro.
24-Edit Copy no tube 889MulherByPqnaAlice\Paste
As New Layer.
Posicione a gosto .Drop Shadow
como preferir.
25-Edit Copy no tube Callitubes-277flores\Paste As New Layer.
Posicione a gosto .Drop Shadow como preferir.
26-Edit Copy no tube Callitubes-360decor\Paste As New Layer.
Posicione a gosto .Drop Shadow como preferir.
Image \ Add Borders \ 2 pxls color =backgound
Image \ Add Borders \ 25 pxls color =ffffff
Image \ Add Borders \ 2 pxls color =backgound
Selections \ Select All.
Image \ Add Borders\ 50 pxls color=#ffffff
Effects \ 3D Effects \ Drop Shadow: 0 \ 0 \ 100 \ 100,00 _Color:
#000000 .
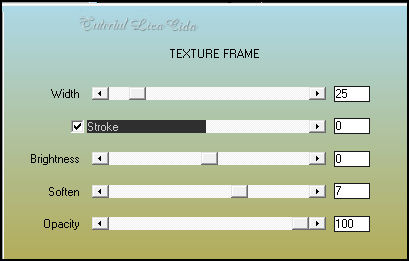
_Plugins AAA Frames\ Texture Frame.
Aplicar a Marca D'agua.
Assine e salve.
Resize _Width 1024 pxls.
Aparecida \ licacida , janeiro de 2023.
Espero que apreciem.
Obrigada!
:::...VOLTAR...::: |