
|
Seleções:
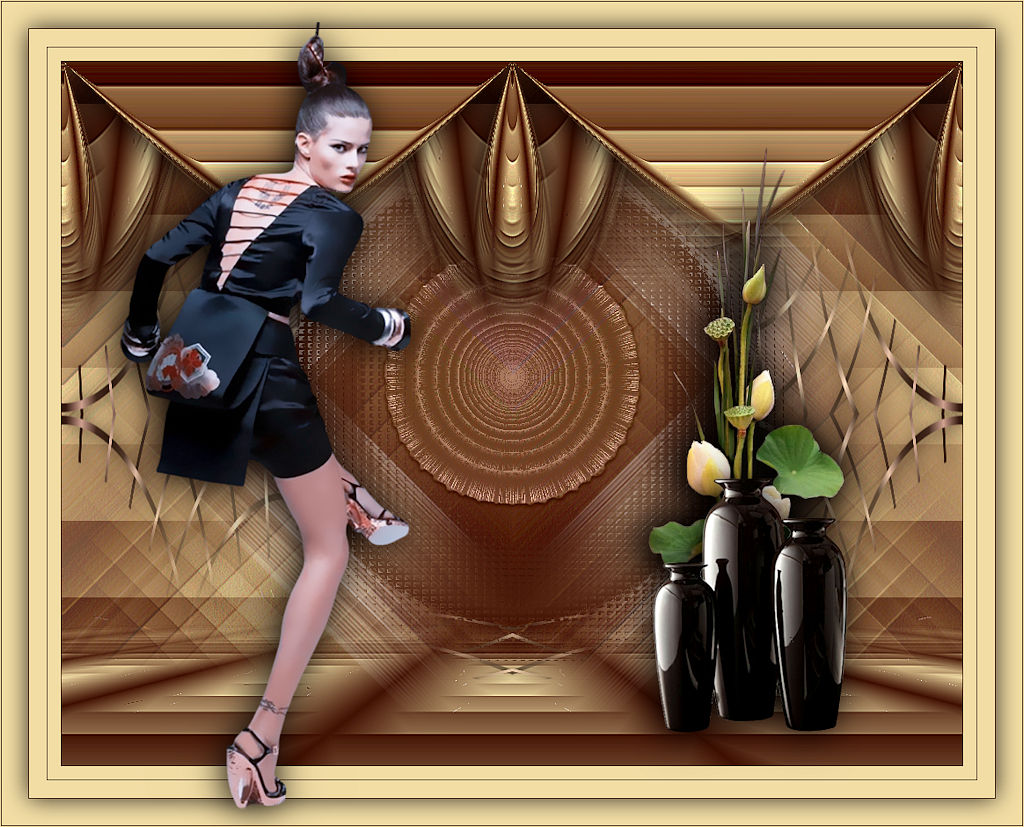
Imagem "onlygirl" _ Seleção1_Seleção2.
Guardadas
em Canal Alpha a Imagem "onlygirl"
Script _"onlygirl"(
Guardar em sua pasta de Scripts Restricted)
Caso o seu
não rode: script onlygirl.
Tube:SuizaBella_Ref_AG-002973.
Mask:
!!!!.mask.ket01
Deco:SuizaBella
Vaso 7\Callitubes-155flores.
Back:
back_lc_onlygirl.
Elementos:
elementosuperior_lc_onlygirl\elemento central_lc_onlygirl.
Versão usada PSPX9.
Plugin
VM
Distortion
VM
Natural
Plugin
Simple
Unlimited2
Tutorial
Configurar
foreground #431607\ background #f2e0a8
1-Abrir alphachannel_onlygirl. Window / Duplicate.
Fechar a original .
_ Vamos trabalhar na copia.
2-Preencher com o gradiente Rectangular , Angle 0 \ Repeats 0. Invert
marcado. CP=H e V _50 \ FP= H e V _50.
Formado
pelas cores configuradas acima.

3-Unlimited2 _VM Distortion _ FlipChop.

4-New Layers. Send to Botton.
_Select All .Edit Copy no
back_lc_onlygirl \ Edit Paste Into Selection . Selections\
Select none.
_Emboss3.
_Layer superior 65% (opacity)
(Promote Selection).
5-Ainda na layer superior.
_ Selections \Load \ Save
Selection \Load Selection From AlphaChannel \ Selection#1.
_Promote
Selection to Layer ( opacity irá para 100%,
deixe assim) .
_Selections\
Select none.
6-Unlimited2 _VM
Natural _Weave Distortion...

7- Effects\
Distortion Effects\Polar Coordinates.

.
8-Aplicar
a mask .ket01.
(anexada)

_Duplicar duas vezes. Layers\ Merge Group.
9-Plugin Simple \Pizza Slice
Mirror.
_Effects\3D Effects\ Drop
Shadow 3\ 3\ 50\ 26,09 . Color=#000000.
10- Selections \Load \
Save Selection \Load Selection From AlphaChannel \
Selection#2.
_Delete.
11-Selections \Modify _Select Selection Borders
.

12-New Layers.
_ Preencha com o mesmo gradiente formado no ítem2.
_Selections\ Select
none.
13-
Plugin Alien Skin \ Eye Candy 5 \ Impact _ Motion Trail

14-Effects\
Texture Effects\ Mosaic _Glass.

_Duplicar a Layers Promoted
Selection.
15-Unlimited2

16-Plugin MuRa's Meister \ Perspective Tiling._Height 20 (
demais valores iguais)..
_A
layer deverá estar em 100% (opacity).
*Com a Ferramenta Magic Wand \ Feather 60 \ Clique
na parte transparente . Delete (quatro\cinco
vezes _ para suavizar o efeito. ).
Selections \ Select none.
_Adjust \ Sharpness\ Sharpen More.
_Dulpicar a layers.
17-Effects\ Distortion Effects\Polar
Coordinates.
(print ítem 7)
_Image \Mirror Vertical.
_Adjust \
Sharpness\ Sharpen More.
LAYERS\ ARRANGE\ BRING TO TOP.
18-Effects\ Image Effects\ Seamless Tiling:

_Resize 80%
 . .
_Acerte as laterais usando a
ferramenta pick tool.
*Effects\ Image Effects\ Offset.
0\ 32. ( custom e transparentes marcados).
(deixe assim)
19-Edit Copy no
elementosuperior_lc_onlygirl \Paste As New Layer.
_Objects\ Align\Top.
_Shadow a gosto
nas duas layers.
Layers estão assim:

20- Ativar a Copy of Promoted
Selection.
New Layers.
Correr o Script "onlygirl".

Procurar
o Script "onlygirl".
Clique
para corrê-lo e "Run Selected Script".
( segue o
script, caso o seu não rode)
21-Edit Copy no elemento central_lc_onlygirl\
Paste As New Layer.
*Effects\ Image
Effects\ Offset.
0\ 26. ( custom e transparentes marcados).
_BM=Luminance (L)
_Borda
Image \ Add
Borders \ 1 pxl color =#431607.
Image \ Add
Borders \ 15 pxls color= #f2e0a8.
Image \ Add Borders \ 1
pxl color = #431607.
Image \ Add Borders \ 20
pxls color= #f2e0a8.
Image \ Add Borders \ 1
pxl color =#431607.
Selections \
Select All.
Image \ Add
Borders \ 30 pxl color =#f2e0a8.
_Effects\3D Effects\ Drop
Shadow 0\ 0\ 80\ 40,00 . Color=#000000.
Selections \Select none.
22-Edit Copy no SuizaBella_Ref_AG-002973\
Paste As New Layer.
Posicione.
23-Edit
Copy no SuizaBella Vaso 7\ Paste As New Layer.
Resize a
gosto , posicione.
24-Edit
Copy no Callitubes-155flores\ Paste As New Layer.
Intercale ( opcional). Use a gosto.
_Image \
Add Borders \ 1 pxl color =#431607.
_Image \
Add Borders \ 1 pxl color= #f2e0a8.
Resize _Width
1024 pxls.
Aplicar a Marca D'agua.
Assine e salve.
|