|
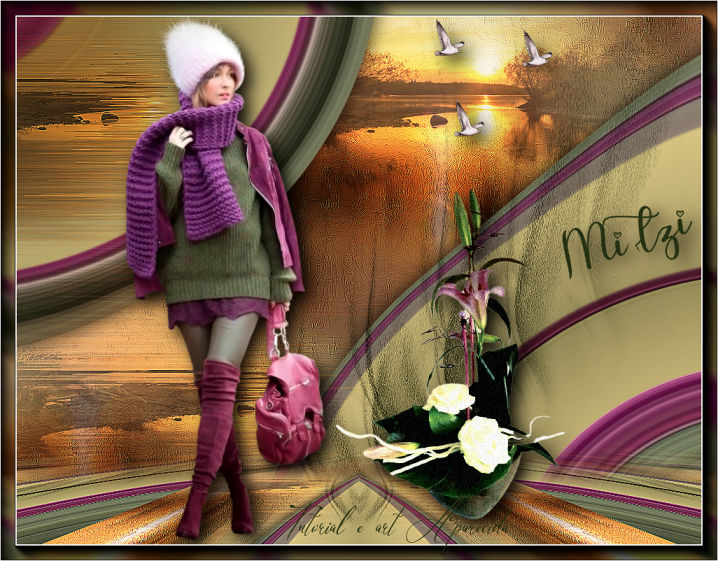
"Mitzi"
Preset_CloneBrush_aplicatubelica ( salve em sua pasta de presets clonebrush my psp files) Preset_SmudgeBrush_flood_mara1 ( salve em sua pasta de presets smudgeBrush my psp files) Tubes : femmeVSP214\ 199_paysage_p3_animabelle Deco:1223222279_gifs_animaux \ Callitubes-151flores. Texto nome: Mitzi_RobertaMaver ( obrigada!
Mask:
cas_Mask_0117_12
(Agradeço)
Marca D'água .
Efeitos do PSP.
Versão usada PSPX9.
Plugins
Plugin MuRa's Meister
Tutorial
1- Abrir uma nova imagem transparente de
1024 x 800.
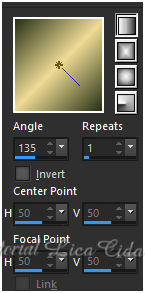
_Preencher com o gradiente
formado pelas cores #283216 e #efdb95. Configurar Linear .
Angle 135 \ Repeats 1. Invert desmarcado.
_Layers Duplicate.
*Tirar a
visibilidade da cópia, ativar a raster1.
2-Selections\Select
All.
_Edit Copy no femmeVSP214 ( usar o tube principal ) \
Edit Paste Into Selection . Selections\ Select none.
_Effects\ Image Effects\
Seamless Tiling: Default.
3- Plugin
(haverá mutações
dependendo do tube usado)
4 -
Selecionar com a Magic Wand_Default ( tolerance 10 ) a maior
parte colorida.
Delete ( deixe selecionado)...
_Abrir a
visibilidade da cópia , ativá-la. ( copy of raster1 ).
5-Selections\Select
All.
_Edit Copy no 199_paysage_p3_animabelle \ Edit Paste
Into Selection . Selections\ Select none.
_Effects\ Image Effects\
Seamless Tiling: Default.
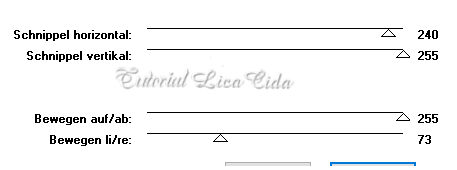
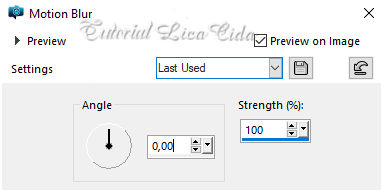
6-Adjust
\ Blur\ Motion Blur.
(
aplicar três vezes ).
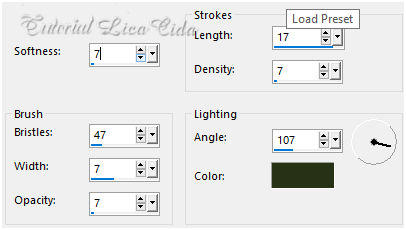
 7-Effects \ Art Media Effects\ Brush Strokes (Color foreground).
_Effects\
Edge Effects\ Enhance More.
_Layers\
Arrange\ Move Down.
8-New
Layer .
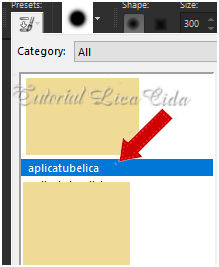
_ Ativar o
Clone Brush.
_Procurar
o Preset_CloneBrush_aplicatubelica.
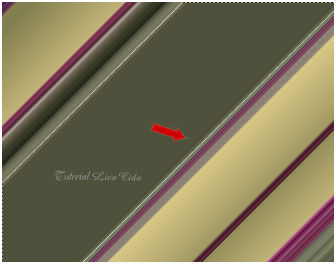
* Com o
botão direito do mause clicar na parte interessada da
paisagem .
Aplicar o
tube usando o botão esquerdo do mause no top.
_Layers Duplicate.
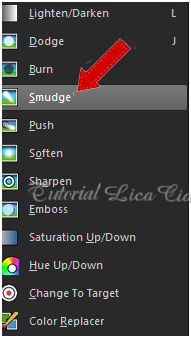
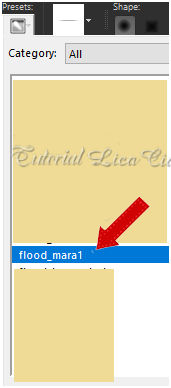
9-Ativar
a ferramenta Smudge.
Procurar
o Preset _SmudgeBrush\flood_mara1.

Suavizar o efeito da mesma paisagem e completar a parte
inferior .
(
use a gosto\observe o modelo )
_Layers Duplicate.
Layers\ Arrange \ Bring to Top.
10-Posicione como modelo,
use a gosto.
_Adjust \ Sharpness\Sharpen.
(
usar nas layers da paisagem )
11- Raster1.
_ Effects\ Distortion Effects\ Pinch . S(%) 100.
_Effects\3D
Effects\ Drop Shadow 0\ 0\ 80\ 40,00 .
Color=#000000.
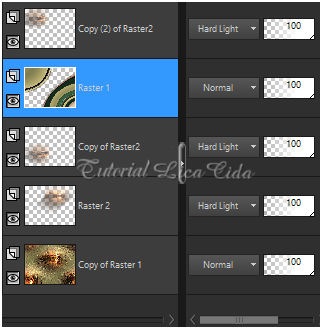
layers\blends\opacitys
ÚSEI
PÁSSAROS COMO DECO.
12-Layers
superior_ New layers.
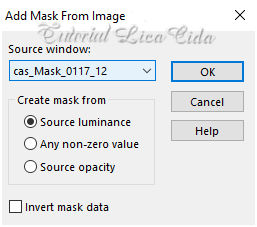
_Preencher color usada no
foreground_#283216.
_Aplicar a cas_Mask_0117_12.
_Effects\
Edge Effects\ Enhance.
_Layer\Merge
\Group.
*Plugin \ MuRa's Seamless \ Emboss at Alpha _ Default.
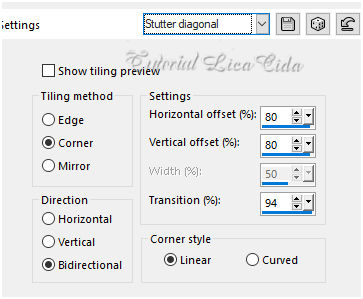
13-Effects\ Image Effects\
Seamless Tiling: Stutter diagonal
( aplicar tres vezes.)
_ Image\ Mirror Horizontal.
_Blende Mode=Multiply. Opacity
70%.
14-
Edit\ Copy Special\ Copy Merged. Paste As New Layer .
15-Plugin MuRa's Meister \ Perspective Tiling. Default
_Height 20 ( demais valores iguais).
_Effects \Reflection Effects \ Rotating
Mirror . 0\180 _Reflect.
*Com a Ferramenta Magic Wand \ Feather 60 \ Clique na parte transparente . Deletar ( várias vezes _ suavizar o efeito. ). Selections \ Select none.
_Adjust \ Sharpness\Sharpen More .
16-Copy of Raster1.
_Layers Duplicate.
( mudar o blend mode
para Screen a layer duplicada)
17-Edit Copy no nome Mitze \ Paste As
New Layer.
Use
a gosto
18-Edit Copy no femmeVSP214 \
Paste As New Layer.
Posicione.
19-Edit
Copy no Callitubes-151flores \ Paste As New Layer.
Layers\ Merge Visible.
20-Plugin AAAFrames\ Foto Frame.
_Width 20\ Matte 2\ Restante igual.
21-Plugin AAAFilters\ Custom.
_ Sharp _Default.
_Image \
Add Borders \ 1 pxl color =#ffffff.
Aplicar a Marca D'agua.
Assine e salve.
|