8- Plugin Carolaine and
Sensibility \ CS-DLines. 40 \5 .
*New Layer _Preencher com a cor usada no
foreground.
Resize 70%

9-Plugin Simple \ Left Right
Wrap.
10-Plugin Toadies\ What Are You?
...20\20.
12-Effects
\Reflection Effects \ Rotating Mirror .
0\0
_Reflect.
_Effects\ Edge Effects\ Enhance.
_Effects\3D Effects\ Drop
Shadow 21\ 18\ 50\ 20,00 . Color=#000000.
Negativo V -21\ H -18.
13-Ativar a Raster1.
_Plugin MuRa's Meister \ Perspective Tiling.
Default _Height 20 ( demais valores iguais).
_Layers\ Arrange\ Move Up.
14-Effects \Reflection Effects \ Rotating Mirror .
0\180
_Reflect.
*Plugin \
MuRa's Seamless \ Emboss at Alpha _ DEFAULT.
15-Edit
Copy no cas_tube9_3_landschap_19062011 \ Paste As New Layer.
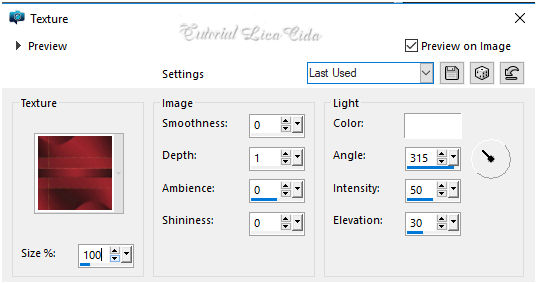
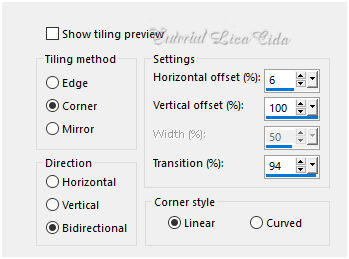
_ Effects\ Image Effects\ Seamless
Tiling: (Print ítem 11).
_Emboss3.
16- New Layer.
_Preencher color #000000.
Layers\ Arrange\ Bring to Top ( raster4).
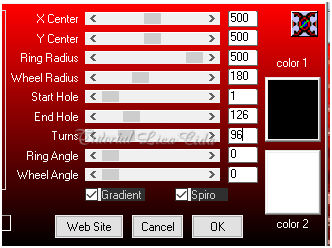
_Plugin DCspecial \ Spiro FX.
17 - Plugin Transparency \Eliminate
Black.
_Resize 90%
Blend Mode Screen.
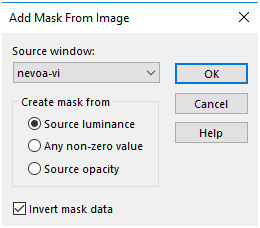
18- Aplicar a mask nevoa-vi (
20-20)
Effects\ Edge Effects\
Enhance.
Layer\Merge \Group.
*Plugin Alien Skin
Eye Candy 5 : Impact\ Perspective Shadow_Blurry.
19-Edit
Copy nas esferas_camerontags trabalhada\ Paste As New Layer.
(Segue a
original, use a gosto )
Blend Mode Luminance(L).
20-Edit Copy nas esferas_camerontags_ deco \ Paste As New Layer(
raster5).
Objects\Align\Bottom.
layers
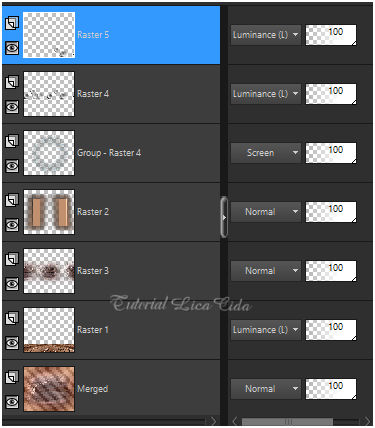
21-Edit Copy na cas_tube4_11_woman_19052011p\ Paste As New Layer.
_Layers Duplicate.
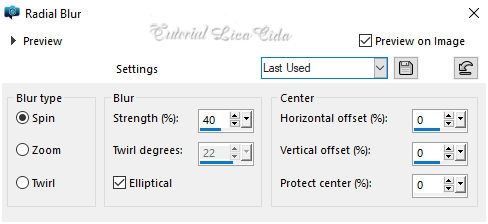
_ Adjust\ Blur\ Radial Blur.
( print ítem6 )
Blend Mode Overley .
_Layers\ Arrange\ Move
Down.
22-Edit Copy no decoarquivonet\ Paste As New Layer.
23-Ativar
a Layer Merged.
Plugin Nick Software\ Color EfexPro 3.0\Bleach Bypass.

Layers Duplicate.
Blend Mode Burn ( use
a gosto )
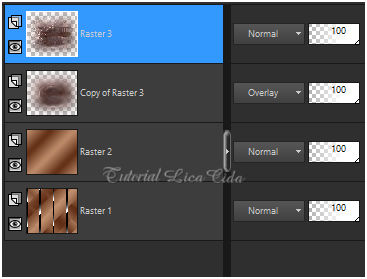
*Raster1 ( mudar o
Blend Mode para *Normal .
24-Borders
Image \ Add Borders \ 1 pxl color =#ffffff
Image \ Add Borders \ 60 pxls color =#background
Invert
Adjust\ Add _Remove
Noise\ Add Noise... 15% \ Uniform\ Mono marcado.
Plugin FMTT\ Blend
Emboss.
Invert
Effects\3D Effects\ Drop Shadow 0\ 0\ 80\
40,00 . Color=#000000.
Selections \ Select All.
Selections \Modify \Contract... 25pxls.
Effects\3D Effects\ Drop Shadow
0\ 0\ 80\ 40,00 . Color=#000000.
Selections \Select none.
Aplicar a Marca D'agua.
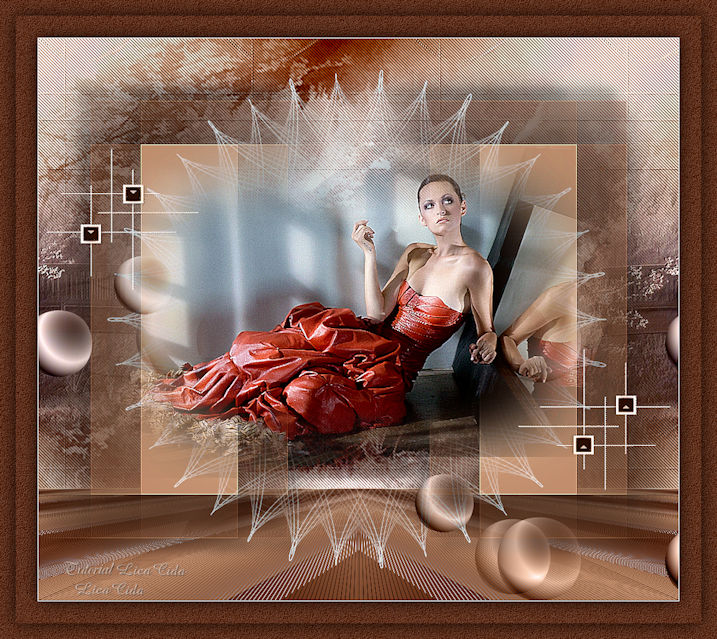
Assine e salve.
Aparecida \ licacida , abril de
2021.
Espero que
gostem.
Obrigada!
:::...VOLTAR...:::