|
Video
Versões Amigas
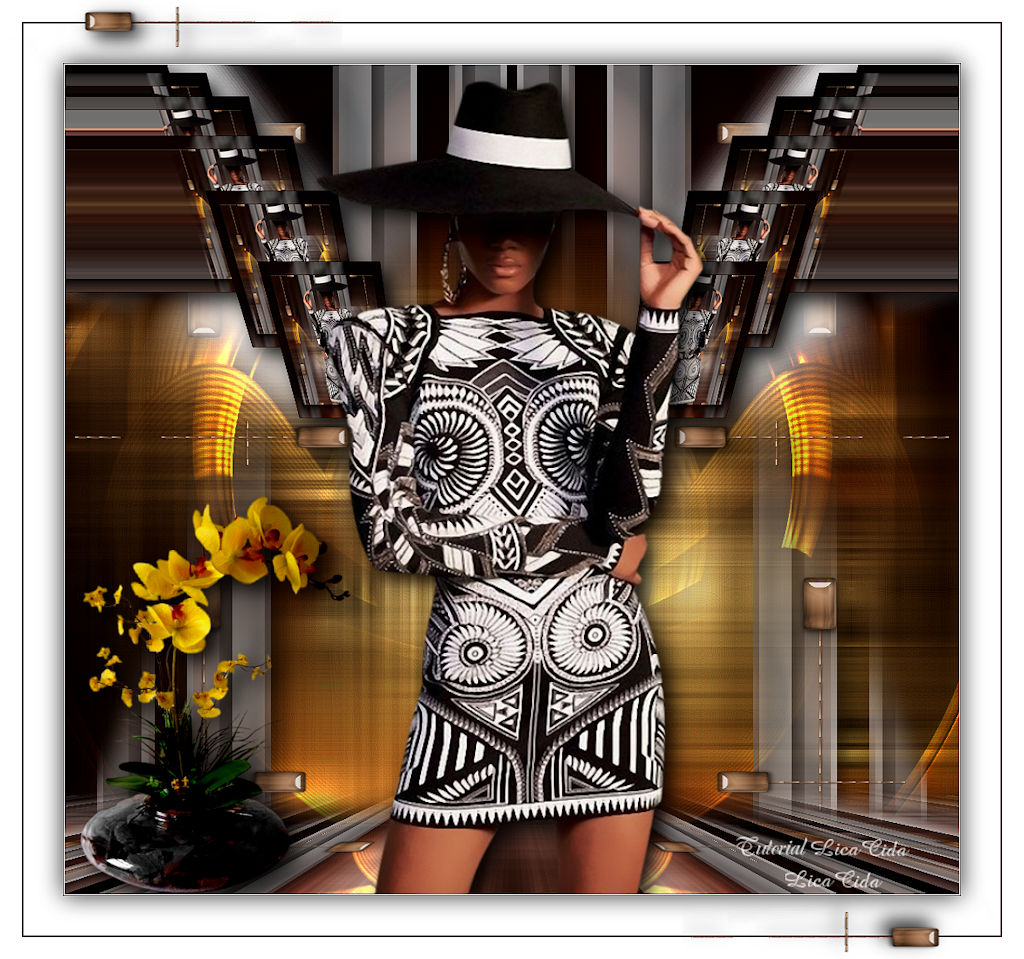
"Annie_Jewel"
Carinhosamente.
Seleção: selannie_lc.PspSelection.
( Salve em sua
pasta de seleções My PSP Files ) .
Tube : Femme
chapeau jewel 012\ SuizaBella_Ref_AG-001939-10
Deco:decodouradoannie-lc\
deco-mp \ elemento-mp\ acabamentoborda.mp
(Agradeço)
Marca D'água .
Efeitos do PSP.
Versão usada PSPX9.
Plugins
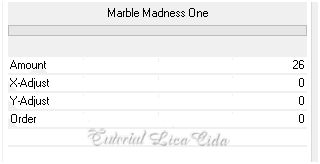
FFG\A _ Marble Madness One
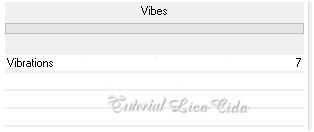
4FFG\B_Vibes.
Plugin Tramages
Plugin Mehdi
Plugin AAA\Frames
Plugin MuRa's Meister
Tutorial
Configurar:
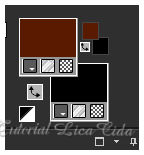
#5a1c00(
usar no foreground) #000000( usar no background ) .
1- Abrir
uma nova imagem transparente de 1024 x 900.
2-Selections \Load \ Save Selection \Load Selection From
Disk \ Load \selannie.PspSelection.
_Flood Fill \ Opacity 60% _Preencher com a color usada
no foreground ( #5a1c00 )
Selections\ Select none.
3-FFG\A _ Marble Madness One ( default) .
4-FFG\B_Vibes.
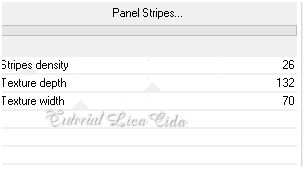
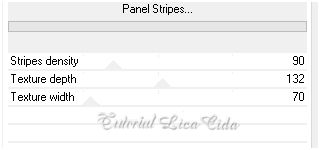
5-Plugin Tramages \Panel Stripes...
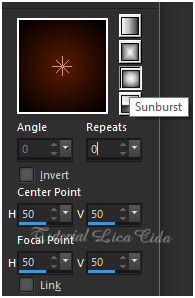
6-New
Layer\Send To Bottom.
_Preencher
com o gradiente formado pelas cores configuradas acima
. Usar como print abaixo .
Opacity
100%.
7-Voltar à raster1.
_Effects\ Image Effects\ Seamless
Tiling:
_Layers Duplicate \Image Mirror
Horizontal.
_Layers\Merge\ Merge Down.
*Plugin Alien Skin Eye Candy
5 : Impact\ Perspective Shadow_Blurry.
8- Raster2.
_Selections \Select All .Edit
Copy no Femme chapeau jewel 012 \ Edit Paste Into Selection .
Selections\ Select none.
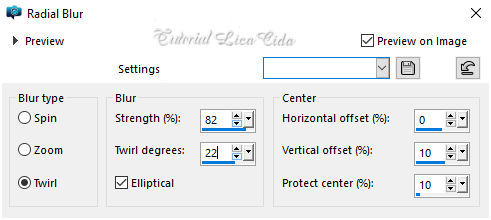
9-Adjust\ Blur\ Radial
Blur.
10-Plugin Mehdi\ Weaver.
_Adjust \ Sharpness\ Sharpen
More.
_Effects\ Edge Effects\ Enhance.
11-Edit Copy no
decodouradoannie-lc\ Paste As New Layer.
Blend Mode Dodge.
_Adjust \ Sharpness\ Sharpen
More.
*Plugin
Alien Skin Eye Candy 5 : Impact\ Perspective Shadow_Blurry.
12-Edit Copy no deco-mp\ Paste As New Layer.
Layers\ Arrange\ Bring to Top.
13-Edit Copy no Femme chapeau jewel 012\ Paste As New
Layer.
Posicione a gosto.
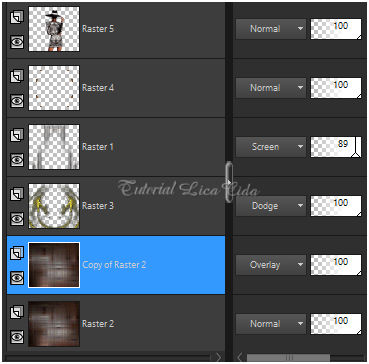
14-Raster2.
Layers Duplicate \ Blend Mode Overley.
Layers\ Blends\Opacitys
15-Ativar
a layer superior_Raster5.
_Edit \Copy
Special \ Copy Merged.
_Paste
As New Image.
16-Na nova
imagem formada:
_ Resize
20%
_Plugin
AAA\Frames_Foto Frame _Width 15 (demais valores Default).
17-Edit Copy na imagem formada e
trabalhada\ Paste As New Layer , no seu roteiro.
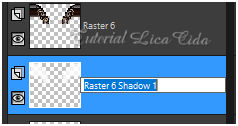
*Raster6)
18-Effects\ Image Effects\ Offset.
324 \ 262 ( custom e transparentes marcados).
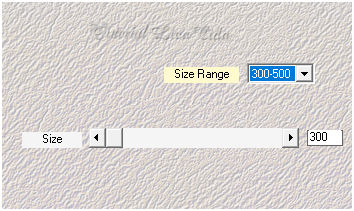
19-Plugin
MuRa' Meister\ Copies_ Throw.

_Objects\Align\Bottom.
_Layers Duplicate \Image
Mirror Horizontal.
_Layers\Merge\ Merge
Down.
20-Effects\ Geometric
Effects\ Pentagon_Repeat.
_Objects\Align\Top.
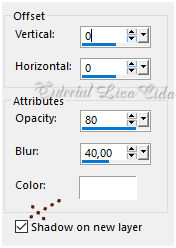
_Effects\3D Effects\
Drop Shadow 0\ 0\ 80\ 40,00 . Color=#ffffff.
_Na layer inferior Raster 6 Shadow1.
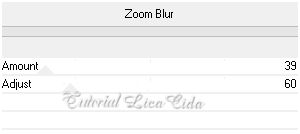
_Plugin VM Stylize \ Zoom
Blur _ default.
( o efeito pode hospedar-se
em outro plugin)
Blend Mode Screen
Raster6_
*Plugin Alien Skin Eye Candy 5 : Impact\
Perspective Shadow_Blurry.
*Tirar a visibilidade da
layer do tube Femme chapeau jewel 012 ( raster5).
_Voltar na layer
superior ( raster6)
21-Edit \Copy Special \ Copy Merged.
_Paste As New layer.
22-Plugin Tramages \Panel Stripes...
23-Image\ Canvas Size _1024 x 950 _Bottom 50.
24-Plugin MuRa's Meister \ Perspective Tiling. Default
_Height 15 ( demais valores iguais).
*Com a Ferramenta Magic Wand \ Feather 60 \ Clique na parte transparente . Deletar ( várias vezes _ para suavizar o efeito. ). Selections \ Select none.
*Plugin \ MuRa's Seamless \ Emboss at Alpha _ DEFAULT.
25-Effects \Reflection Effects \ Rotating Mirror .
0\180 _Reflect.
26-Edit
Copy no elemento-mp\ Paste As New Layer.
27-Effects\ Image Effects\ Offset.
0 \ 38 ( custom e transparentes marcados).
28-Abrir a visibilidade da layer do tube
Femme chapeau jewel 012 ( raster5).
Layer\ Arrange\ Bring to Top. Posicione.
*Plugin Alien Skin Eye Candy 5 : Impact\
Perspective Shadow_Blurry.
29-Edit Copy no
SuizaBella_Ref_AG-001939-10\ Paste As
New Layer.
( raster1 ) Posicione
*Plugin Alien Skin Eye Candy 5 : Impact\
Perspective Shadow_Blurry.
30-Copy of Raster2.
_Plugin Nick
Software\ Color EfexPro 3.0\Bi-Color Filters
. Color Set _Brown1_ Default.
31-Borders
Image \ Add Borders \ 1 pxl color =#ffffff
Image \ Add Borders \ 1 pxl color
=#000000
Selections \ Select All.
Image \ Add Borders \ 45 pxl color
=#ffffff
_Effects\3D Effects\ Drop
Shadow 0\ 0\ 80\ 40,00 .
Color=#000000.
Selections
\Select none.
Image \ Add Borders \ 2 pxls
color =foreground.
Image \ Add Borders \ 25 pxls color =#ffffff
32-Edit
Copy no acabamentoborda.mp\ Paste As New Layer.
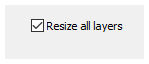
Resize _Width 1024 pxls.
Aplicar a Marca D'agua.
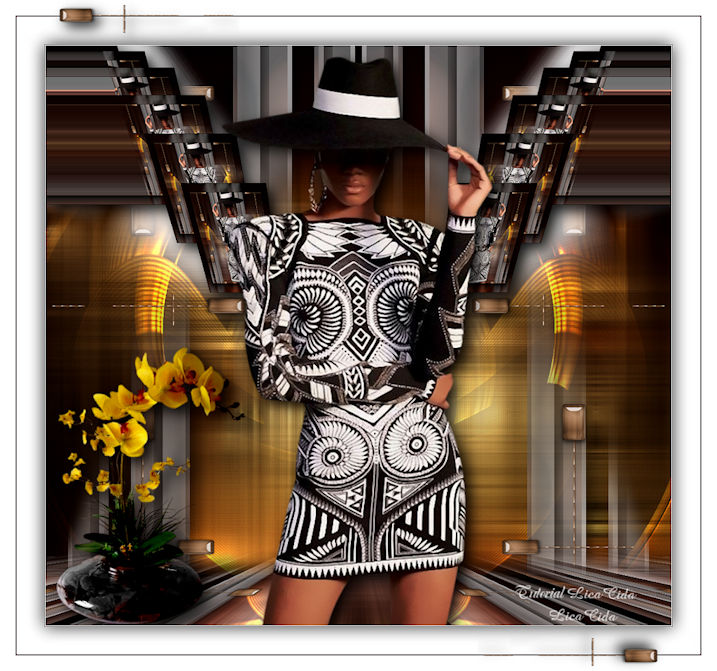
Assine e salve.
Aparecida \ licacida , abril
de 2021.
Espero
que gostem.
Obrigada!
|