19-Layer superior
Edit Copy o
misted 5472-luzcristina \Edit Paste As New
Layer
( deve estar na
memória).
Resize 80%

Adjust\ Sharpness\ Sharpen
.
Posicione a
gosto.
20-Edit Copy no
Jeanne_Deko_Tafeltjes_17_02_201817\Paste
As New Layer.
Resize e posicionamento a gosto.
*Plugin Alien Skin Eye
Candy 5 : Impact\ Perspective
Shadow_Blurry.
21-Edit Copy no tube
5312-luzcristina\Paste As New
Layer.
Mirror Horizontal . Resize ,
Posicione.
*Plugin Alien Skin Eye
Candy 5 : Impact\ Perspective
Shadow_Blurry.
*Opcional- ativar (
escolher) um misted que possa fazer um acabamento no
Perspective
Tiling.
Abra no psp _ escolhi o
misted 5156 -luzcristina _ ( observe
abaixo que usei como modelo o mesmo misted )
.
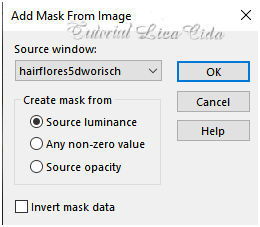
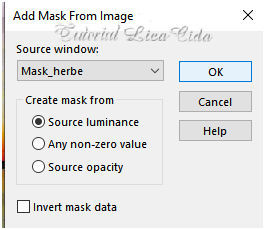
22- Aplicar a Mask
_herbe.
Layers Merge
Group.
_ Plugin \ MuRa's Seamless \
Emboss at Alpha _Default.
_Edit Copy nos matinhos formados\
Paste As New Layer.
(Usar a gosto_ veja
modelo ).
23-Image add borderes 1
pxl\ (
color #000000).
*Image add borderes 3
pxl\ ( color #ffffff
).
*Image add borderes 1
pxl\ (
color #000000).
*Image add borderes 50
pxl\ ( color #ffffff
).
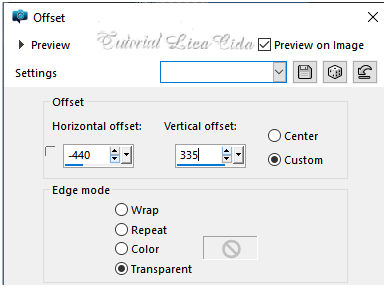
24-Edit Copy no deco ( arquivo ) \
Paste As New
Layer.
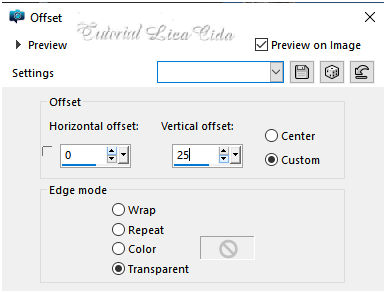
_Effects\ Image
Effects\Offset.
25-Pugin Simple _
Top Left Mirror.