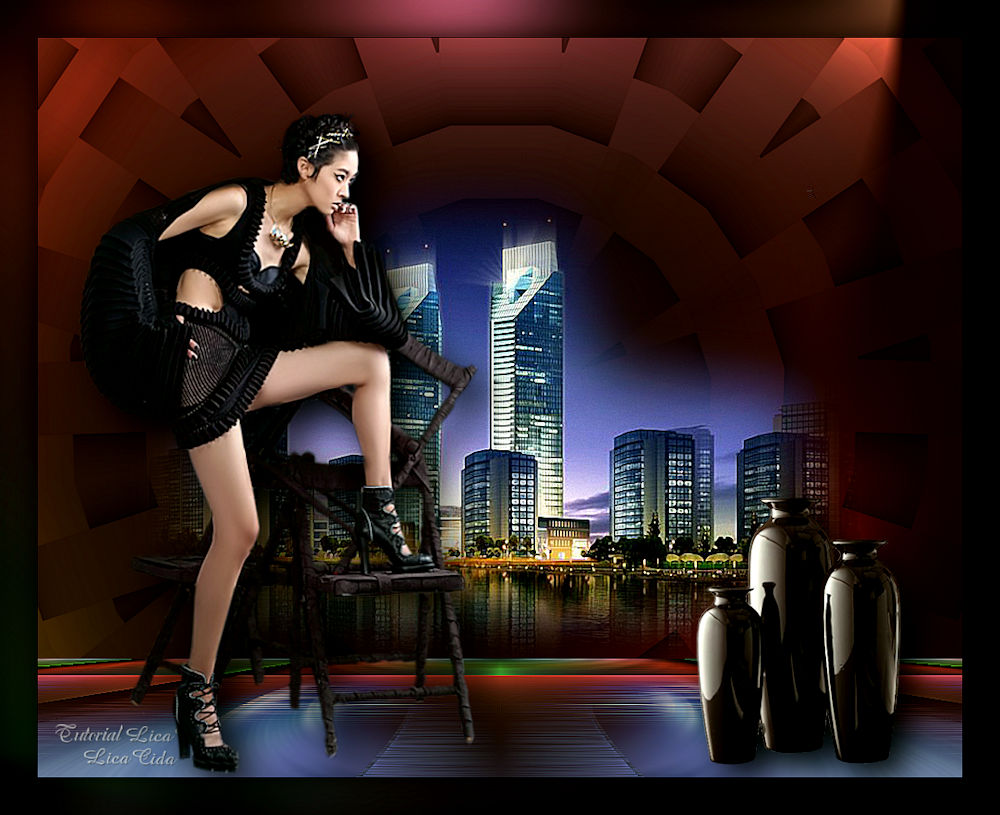
 |
|
" Tempo "
Seleções:
seltempolc.PspSelection.
( Salve em sua pasta de
seleções My PSP Files ) . Preset
Illumination\Lights_lc15mp ( Guardar em sua pasta de Presets My PSP
Files). Gradiente: Shadow
Monsters (Guardar em sua pasta de Gradients My PSP
Files).
Tubes
: 2809 - woman - LB TUBES\ Paysage misted jewel 036\SuizaBella Vaso
7.
(Agradeço)
Marca
D'água . Efeitos do PSP.
Versão usada PSPX9.
Plugins
Plugin dsb flux .
Plugin MuRa'S Meister .
Tutorial _Roteiro
1-Abrir uma nova imagem de 1000 x 700 .
Preencher com o
gradiente Shadow Monsters ( anexado
) Configurar Linear . Angle 0 e Repeats 0. Invert
desmarcado.
 _Adjust\ Blur\ Gaussian Blur... R: 50,00
.
2-Selections\
Selection All. Edit Copy no Paysage misted jewel 036
\
Edit Paste Into Selection .Selections\ Select
none.
_Adjust\ Blur\Radial
Blur...
 Layers
Duplicate.
3-Ativar a Ferramenta Warp Brush.
 Expand \ com as
configurações:
 Centralize a ferramenta e
expanda.
 4-Selections \Load \ Save Selection \ Load
Selection From Disk \ Load \
tempolc.PspSelection.
( caso a seleção não fique do tamanho do seu expand,
use Selections \ Edit Selection para acertar)
Delete
5-Selections \Modify \Select
Selection Borders...
Inside\ Border width: 6\
Anti-alias_marcado.
_New
Layer
_Preencha com o gradiente formado no
ítem
1.
6-Effects\ 3D Effects\ Inner
Bevel.
 Selections\ Select
none.
Layers Merge
Down.
7-Plugin \ dsb flux \
Blast...
 Adjust\ Sharpness\ Sharpen
More.
8- Image\ Canvas
Size...
 9-Edit \ Copy Special \Copy
Merged .
_Edit \ Paste As New
Layer.
10-Plugin MuRa's Meister \
Perspective
Tiling.
(
raster2)
80\ 0\ 0\ 16\ 50\ -50\ 100\
255.
*Com a Ferramenta Magic Wand \ Feather 70 \ Clique na parte transparente . Deletar ( quantas vezes forem necessarias_ para suavizar o efeito. Importante o circulo todo aparecer ). Selections \ Select none. 11-Edit Copy no Paysage misted jewel 036 \Paste As New Layer. Resize 80%. 12-Copy of Raster1. _Image
Resize 80% *Plugin Alien Skin Eye Candy 5 : Impact\ Perspective Shadow_Blurry. _ Aplicar o plugin também na Raster1. Use um Drop Shadow a gosto ( opcional ). OBS: Este ítem ( 12) é só para compor o tutorial. 13-New Layer. Send to Bottom. _Preencher com o gradiente formado no ítem 1. ( raster4 ) . 14- Effects\ Texture Efects\Weave.
15-Effects \ Reflection Effects\Kaleidoscope.
16-Effects \ Reflection Effects \ Rotating Mirror ...
17-Effects\ Illumination Effects\ Preset Illumination\ Lights\ lc15.
18-Raster1. *Repetir o ítem 17 (anterior) *Repetir o Plugin \ dsb flux \ Blast... ( print ítem 7 ) . Adjust\ Sharpness\ Sharpen More. *Adjust\ One Step Photo Fix. 19- Plugin MuRa's Meister \ Perspective Tiling. 80\ 0\ 0\ 16\ 50\ -50\ 100\
255.
* Aplicar : Effects \ Reflection Effects \ Rotating Mirror ... (Repetir na Raster2.)
Adjust\ Sharpness\ Sharpen More. Opacity entre 90% e 85%. ( raster1) *Fechar a layer Copy of Raster1. Layers\ Blends\ Opacitys. ( use a gosto)
20-Ativar a layer superior_Raster3. Edit Copy no 2809 - woman - LB TUBES\ Paste As New Layer. Mirror Horizontal. Adjust\ Sharpness\ Sharpen More. Resize e posicionamento a gosto. 21-Edit Copy no SuizaBella Vaso 7\ Paste As New Layer. Resize e posicionamento a gosto. *Plugin Alien Skin Eye Candy 5 : Impact\ Perspective Shadow_Blurry. Aplicar nos tubes. *Image add borderes 1 pxl\ ( color #000000 ). Edit Copy *Image add borderes 40 pxls\ ( color #ffffff ). Selecione \ Edit Paste Into Selection. _Adjust\ Blur\ Gaussian Blur... R: 50,00 . _Effects\ Illumination Effects\ Preset Illumination\ Lights\ lc15. ( print ítem 17) _Plugin Graphics Plus\ Cross
Shadow_Default.
Invert
_Effects\3D Effects\
Drop Shadow 0\ 0\ 80\ 40,00 . Color=#000000. Selections\ Select
none.
* Resize \ Width 1000 pxls. _Plugin AAA Filters\ Custom_Landscape ( Default). Opcional. Aplicar
a Marca D'agua.
Assine e
salve. Aparecida \ licacida , julho de 2020.
14
Espero que gostem.
Obrigada.   |