|
|
|
"Susanne"
 https://www.sunnys-psp-welt.de/
Com Carinho!!
Preset
Illumination\Lights_intuition \ mp ( Guardar em sua pasta
de Presets My PSP Files). Tubes:
Beauty_in_fur_CibiBijoux \ 328_paysage_p3_animabelle \
Jarre_raisins_CibiBijoux.
Mask:maskfield (mp)
(Agradeço)
Marca
D'água . Efeitos do PSP.
Versão usada PSPX8.
Plugins
Plugin Mehdi
Plugin
L en K`s \ Mayra.
Filters Unlimited 2 _&<BKg Designer
sf10I>\ Special Effects 1
Plugin VM Natural.
Plugin
Alien Skin Eye Candy 5: Impact.
Toadies
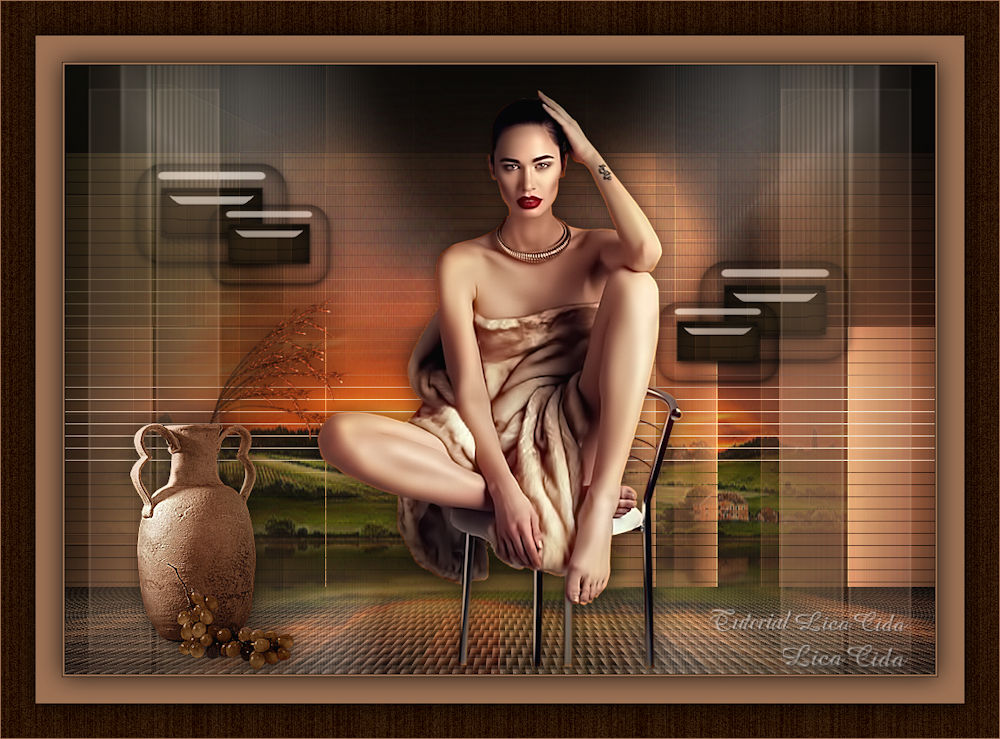
Tutorial
_Roteiro 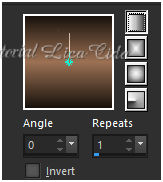 Background #9c7154 Background #9c71541-Abrir uma nova imagem
transparente de 1000 x 700 pxls. Preencher com
o
gradiente formado pelas cores acima retiradas do tube
principal..
Configurar Linear. Angle 0 \Repeats 1. Invert
desmarcado.
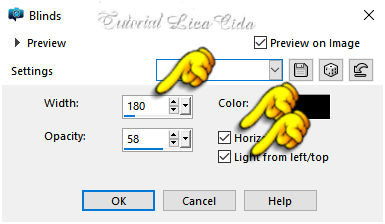
2- Effects\ Texture Effects\
Blinds.
Color=#000000.
 3- Effects\ Texture Effects\
Blinds.
Color=#000000.
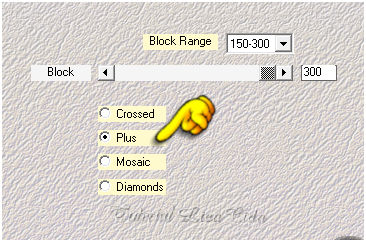
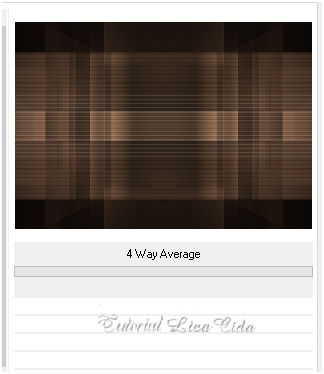
 4-Plugin Mehdi \
Sorting Tiles .
 _Effects\ Edge Effects\
Enhance More.
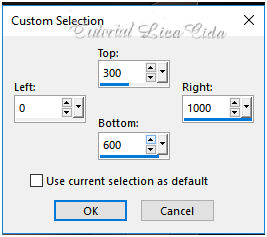
5- Seleção Personalizada1 (
tecle S ).
 6- Plugin L en K`s \ Mayra
_Default (0\ 149\ 76\ 2 ).
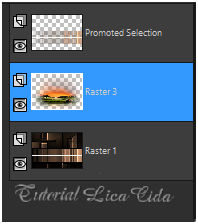
_Promote Selection to
Layer.
7-Plugin Transparency\
Eliminate Black.
8- Nova
layer.
Edit Copy no misted
328_paysage_p3_animabelle ( RASTER2) \ Edit Paste Into Selection .
*COPIAR O MISTED (formado na raster 2
) E TIRAR A VISIBILIDADE DA LAYER
(RASTER2).
9-Nova layer.
Select All. Edit
Copy no misted 328_paysage_p3_animabelle ( RASTER2) \ Edit
Paste Into Selection .
Selections\ Select
none.
DELETAR A RASTER 2.
VOLTAR A RASTER 3.
*LAYER\ ARRANGE\ MOVE
DOWN.
Layers
 10- Ativar a Raster1.
Filters Unlimited 2
_&<BKg Designer sf10I>.
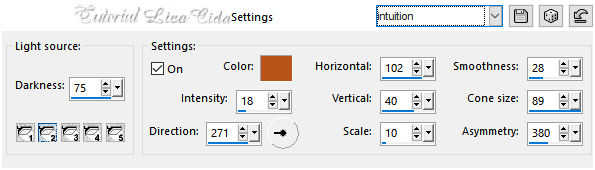
 11-Effects\ Illumination Effects\ Preset
Illumination\ Lights\ intuition.
 _Layer
Duplicate.
12-Plugin VM Natural.
 _Effects \ Image
Effects \ Seamless Tiling.
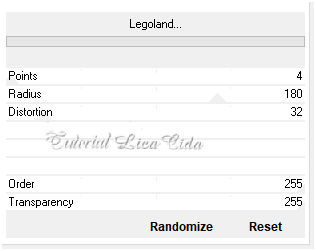
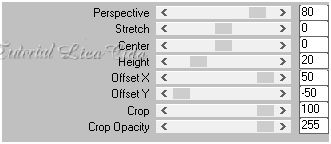
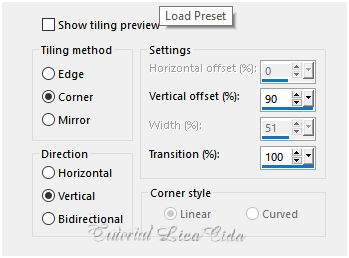 13-Plugin MuRa's
Meister \ Perspective Tiling.
 *Com a Ferramenta Magic Wand \ Feather 70 \ Clique na parte transparente . *Deletar ( seis \sete vezes_ suavizar bem o efeito ). Selections \ Select none.
14-Nova layer.
Select All. Edit Copy na maskfield \
Edit Paste Into Selection . Selections\ Select
none.
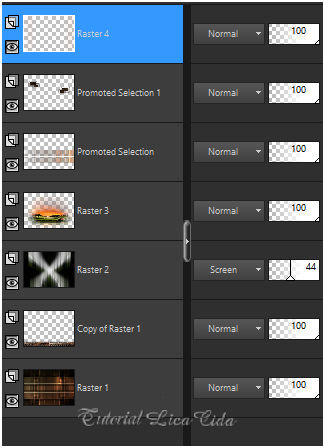
BM= Screen\ Opacity =44%. Image \
Mirror Vertical.
15- Ativar a Raster1.
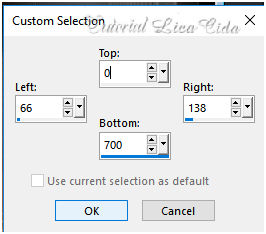
Seleção Personalizada2 ( tecle S
).
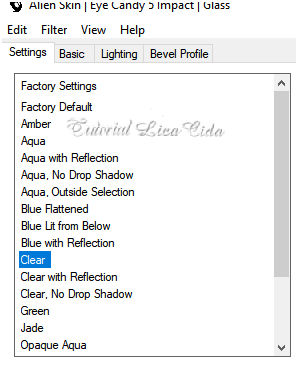
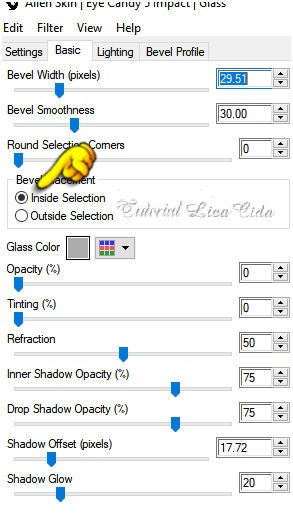
 _Promote Selection to Layer. 16-Plugin Alien Skin Eye Candy 5: Impact\ Glass... Settings :CLEAR.
*Basic : usar as configurações e marcar Outside Selection.
*Repetir Basic : usar as configurações e marcar Inside Selection.
_Selections\ Select none.
Layer\ Arrange\ Bring to
Top.
_Layer\ Duplicate. Image \
Rezie 80%.
Layer\ Merge\
Down.
_Layer \ Duplicate. Image
Mirror Horizontal.
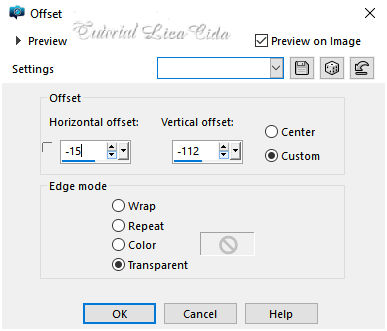
*Effects\ Image Effects\
Offset...
 Layer\ Merge\
Down.
17-Seleção Personalizada3 ( tecle S ).
 _Selections\ Modify\ Select
Selection Borders.
 _Nova
layer\ Preencher color #ffffff.
Selections\ Select none.
Com a ferramenta Magic
Wand_Default, selecione a parte interna do retângulo.
 _ Flood Fill
\Opacity 40% .Preencher com a mesma color=ffffff.
Selections\ Select
none.
18-Plugin Toadies\ What Are
You? Default ( 20 \20 ).
_Layer \ Duplicate. Image
Mirror Horizontal.
Layer\ Merge\
Down.
*VOLTAR A OPACITY A 100% (
flood fill ).
Layers\ Blends\
Opacitys.
 19-Edit Copy no tube Beauty_in_fur_CibiBijoux\ Paste As New Layer .
Resize
90%.
20-Edit Copy no tube Jarre_raisins_CibiBijoux\Paste As New Layer
.
Resize 70% .
Posicione.
Layer\Merge
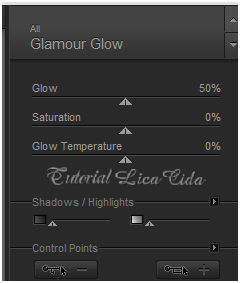
Visible. 21-Plugin Nick Software\
Color EfexPro 3.0\Glamor Glow.
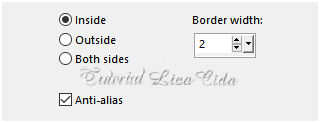
 22-Image add borderes
1 pxl color=#1a130e ( fore) \ Image add borderes 2 pxls color=#9c7154 ( back
)\
Image add borderes
1 pxl color=#1a130e( fore).
Selections\ Select
All.
23-Image add
borderes 30 pxls color=#9c7154( back ).
_ Effects \ 3D
Effects \ Drop Shadow 0\ 0\ 80\ 40,00. Color=#000000.
Selections\ Select All.
24-Image
add borderes 40 pxls color=#1a130e (
fore).
Invert
25-Filters Unlimited 2 \ Special Effects
1 .
 Invert
Effects \ 3D Effects \ Drop Shadow 0\ 0\ 80\ 40,00.
Color=#000000.
Selections\ Select none.
Image\ Resize
Width 1000 pxls .
Aplicar a Marca D'agua.
Assine e salve
jpg. Aparecida \ licacida , março de
2019.
Espero que gostem.
Obrigada!   |