|
|
|
"Mamy Annick" Com carinho!
Selecões:
Imagem alphachannel_annicklc - Seleção1 - Seleção2-
Seleção3.
(Guardadas em Canal Alfa a Imagem
)
Preset katrina _mp \ do Eye Candy
5/Impact/Glass.
(Dar duplo clic sobre o preset para
importar-lo ao Plugin).
Preset Illumination\Lights_alive \ mp (
Guardar em sua pasta de Presets My PSP
Files). Tube
:femmeVSP137.
Deco:
@ildiko_create_deco_free_006 \@ildiko_create_deco_free_008.
Mask:maskcameron
(Agradeço)
Marca
D'água . Efeitos do PSP.
Versão usada PSPX8.
Plugins
Plugin
Mehdi.
Filters Unlimited 2 -
&<BKg Designer sf10I>.
Plugin
Richard Rosenman.
Plugin
VanDerLee.
Plugin
Alien Skin Eye Candy 5.
Tutorial _Roteiro
foreground #6d5e4f \ background
#ffffff.
1-Abrir alphachannel_annicklc, fazer uma
cópia, ( minimizar ) a original.
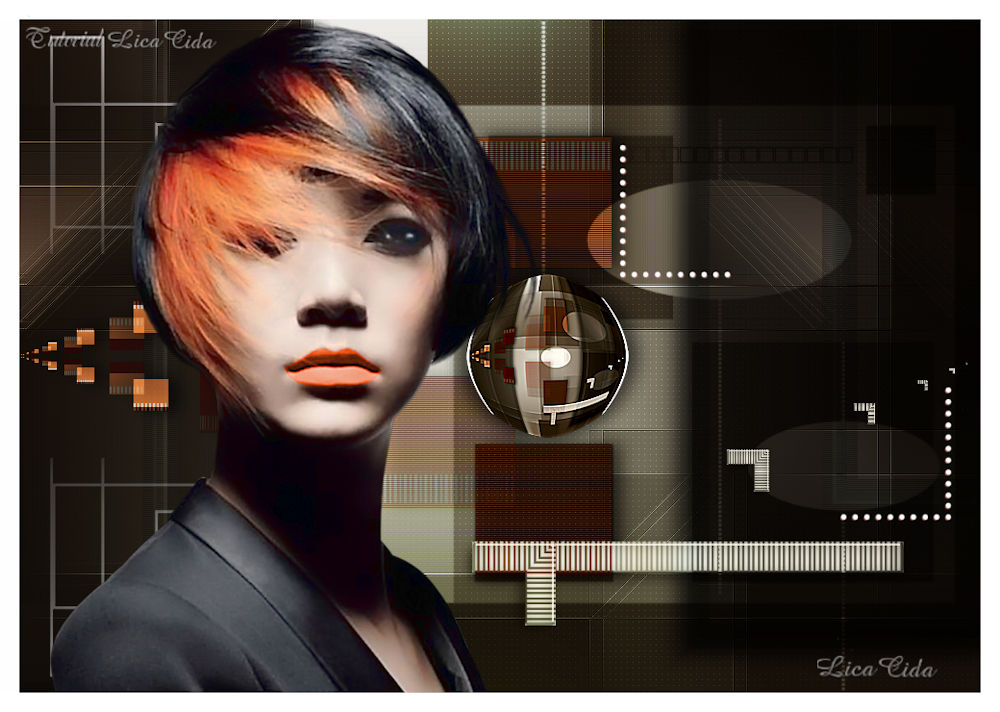
Preencher com o gradiente formado pelas cores
acima. Configurar Rectangular . Angle 0 e Repeats 0. Invert
marcado. CP=H e V \ 50. FP=H e V\50.
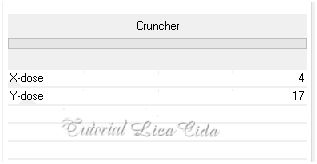
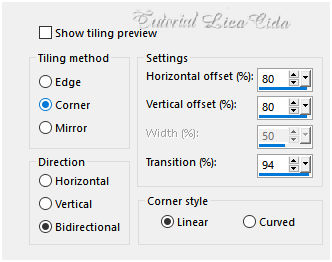
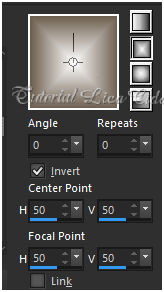 2-Plugin Mehdi\Sorting
Tiles...
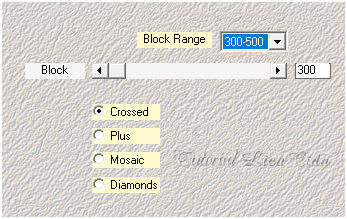 3-Plugin Mehdi\Sorting
Tiles...
 _Effects\ Edge Effects\ Enhance.
4-Filters
Unlimited 2 _ &<BKg Designer
sf10I>.
 _Effects\ Edge Effects\
Enhance.
5-Selection\ Load Selection from
Alpha Channel Selection
#1.
Promote Selection to
Layer
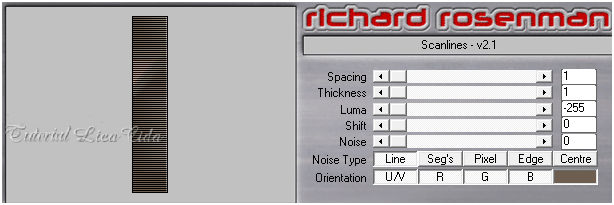
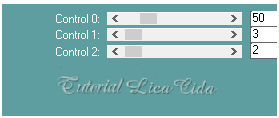
6-Plugin Richard Rosenman \
Scanlines.
( Color usada no
foreground.)
 _Selections\ Select
none.
Layer Duplicate
7- Effects\ Image Effects\
Offset.
 _ Layer\ Merge\ Down.
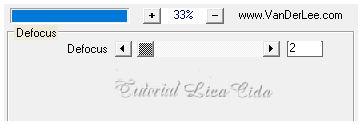
8-Plugin VanDerLee \ UnPlugged-X _Defocus.
Defocus 2 .
_Effects\3D Effects\ Drop Shadow. (menos)
-1\ 10\ 60\ 25,00 . (Color=#000000).
Layer Duplicate
9- Effects\ Geometric Effects \Skew.
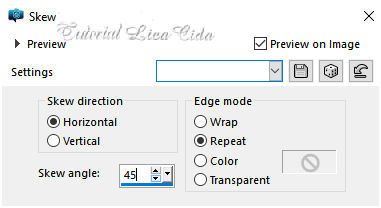 _Image Mirror
Horizontal.
*Repetir
10-Effects\ Geometric Effects \Skew.

_Effects\3D Effects\ Drop
Shadow. 1\ (menos)-10\ 60\ 25,00 . (Color=#000000).
_ Layer\ Merge\
Down.
Blend Mode=Multiply.
*Opacity 83% ( use a
gosto).
11- Nova
Layer.
Preencher color
clara ( background
).
Nova
Layer.
Preencher color
escura ( foreground
).
12-Aplicar a maskcameron
.
 _Layer\ Merge\
Group.
_Layer\ Merge\ Down. Blend
Mode=Multiply.
13-Selection\ Load Selection from
Alpha Channel Selection
#2.
Promote Selection to
Layer
14-Plugin Alien
Skin Eye Candy 5: Impact\ Glass... Setting\ use Setting\
katrina
.
_Selections\ Select none. Blend Mode=Luminance ( L
).
Layer Duplicate
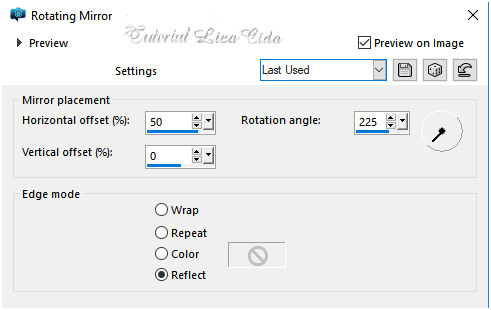
15- Effects \Reflection
Effects \ Rotating
Mirror .
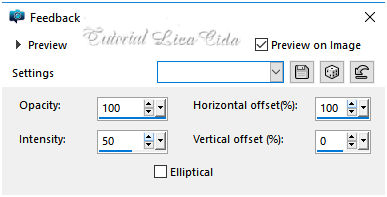
 16- Effects \Reflection
Effects\Feedback.
_ Layer\ Merge\
Down.
17-Ativar a
Raster2.
Selection\ Load Selection from Alpha
Channel Selection
#3.
Promote Selection to
Layer
18-Preencher com uma color
( #e88d5b ) contrastante retirada do seu
tube .
_Selections\ Select
none.
_Effects \ Image Effects \
Seamless
Tiling
 19-Plugin
Richard Rosenman \
Scanlines.
(Valores usados no item
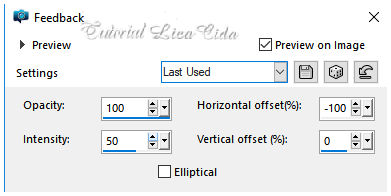
6). 20-Effects \Reflection
Effects\Feedback.
 Layer Duplicate
_Image Mirror
Vertical.
Layer\ Merge\ Down. Layer\
Arrange\ Move
Down.
_Effects\3D Effects\ Drop Shadow. (menos)
-1\ 10\ 60\ 25,00 . (Color=#000000). 21-Ativar a
Raster2.
Plugin Carolaine and
Sensibility\
CS-LDots.
 22-Image\ Canvas Size.
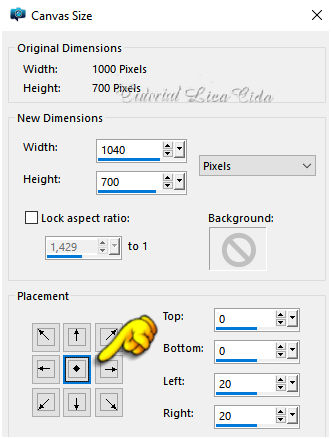 _Preencher as laterais de #ffffff ( background ).
layers\ opacitys\
blends
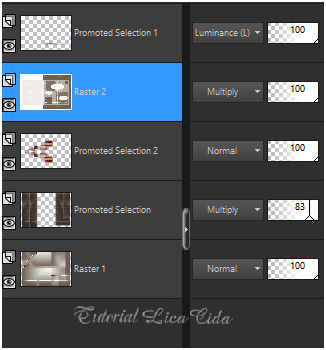 Layer\
Merge\Visible.
Layer
Duplicate
\ Image\ Resize 60%
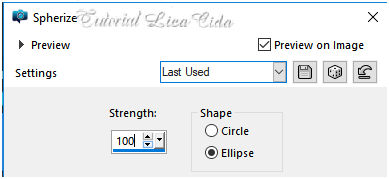
23-Effects\ Geometric Effects\
Spherize.
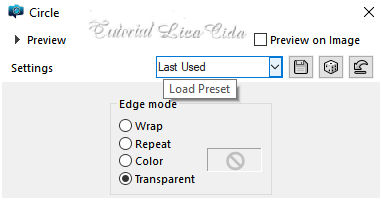
 24-Effects\ Geometric
Effects\Circle.
 _ Image\ Resize 30%
_Adjust\ Sharpness\ Sharpen
More.
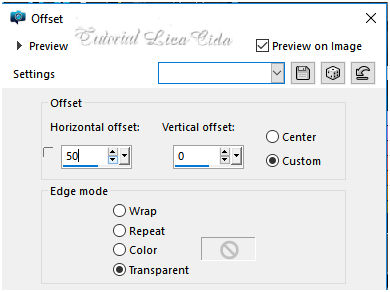
*Effects\ Image Effects\
Offset...
 **Plugin
AAA Filters\ Custom_Landscape (
Default). _Effects\3D Effects\ Drop Shadow. (menos)
-1\ 10\ 60\ 25,00 . (Color=#000000). _Effects\3D Effects\ Drop
Shadow. 1\ (menos)-10\ 60\ 25,00 . (Color=#000000). 25-Edit Copy no deco@ildiko_create_deco_free_008 (
raster2 ) \ Paste As New
Layer.
_posicione acima ao lado esquerdo do
top, como modelo ou a
gosto.
Layer Duplicate \
Image Mirror
Vertical.
Layer\ Merge\
Down.
26-Edit Copy no deco@ildiko_create_deco_free_006 \
Paste As New
Layer.
_posicione como modelo ou a
gosto.
Layer\
Merge\Visible.
Layer Duplicate
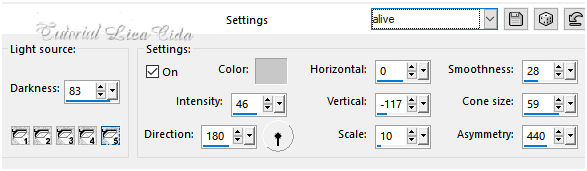
27-Effects\ Illumination Effects\
Preset Illumination\ Lights\
alive.
  28-Edit Copy no femmeVSP137 \
Paste As New
Layer.
Image Mirror Horizontal. Adjust\ Sharpness\ Sharpen
More.
Resize e posicionamento.
29-Image \ Add
Borders. 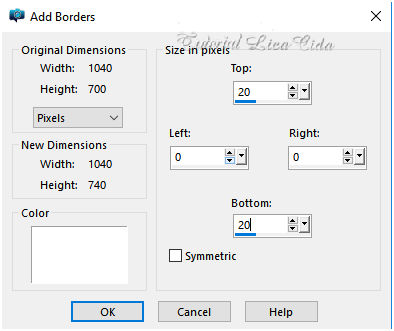 * Resize \ Width 1000
pxls.
Aplicar
a Marca D'agua. Assine
e salve. Aparecida \ licacida , julho de 2019.
Espero que gostem.
Obrigada
  |