
|
|
|
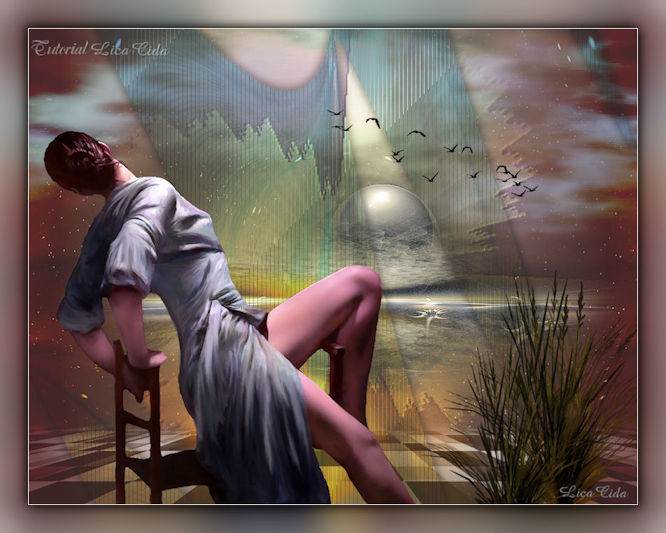
"Carmelita" Com Carinho!!!
Tubes:
pspcybertubes2012-203\nicole-mist-paysage-20-2012.
Brushes: bird_brushes_II_by_lpdragonfly_5
Deco_decograma ( arquivo) \Nik-Windmill 9 arquivo
net )
Back:backlc
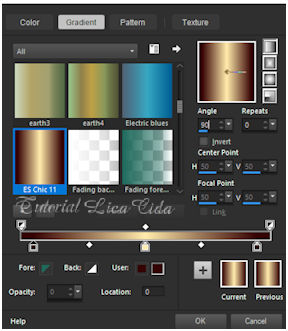
Gradiente: ES Chic 11.
(Agradeço)
Marca D'água . Efeitos do PSP.
Versão usada PSPX8.
Plugins
Plugin Flaming Pear
Plugin Ulead Effects
Plugin VanDerLee
Plugin
Nick Software
Tutorial _Roteiro
*Observação:
acertar alguns blends e opacitys no final do
tutorial.
Usar a gosto!!
1-Abrir uma nova imagem transparente de 1024 x 800
pxls.
Preencher com o gradiente ES Chic 11 ou outro
do seu agrado. Configurar Linear . Angle 90 e Repeats 0. Invert
desmarcado.
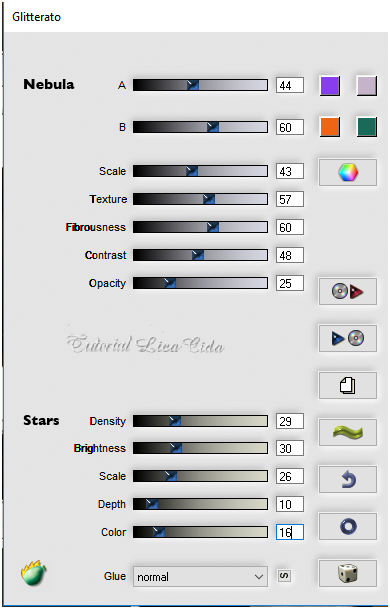
2-Nova layer.
Plugin Flaming Pear\ Glitterato.
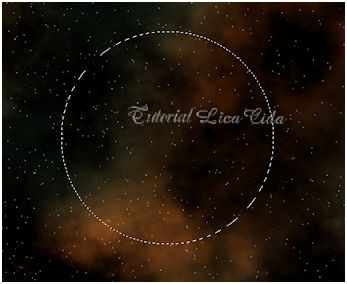
 3-Ativar a ferramenta Selection Tool ( S ) \
Selection type _Circle.
(
centralize e crie um circulo como modelo )
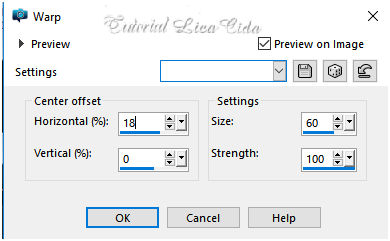
 4- Effects\ Distortion
Effects\ Warp.
 Selections\ Select none.
5-Effects\ Image
Effects\ Seamless Tiling:
 _ Plugin \ MuRa's Seamless \ Emboss at Alpha... _Default.
6- Na mesma layer.
Plugin Ulead Effects\ Particle.... Cloud.
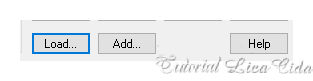
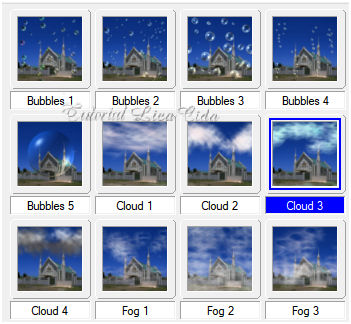
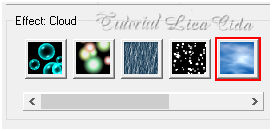 Clique em Load.
 Escolha o Cloud3 .
 7-Nova layer.
Selections\ Select All . Edit Copy no Nik-Windmill ( arquivo
net ) \ Edit Paste Into Selection. Selections\ Select none.
_Emboss3.
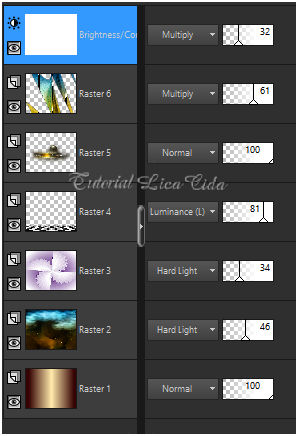
Blend Mode=Hard Light. Opacity 34%.
8-Nova layer ( raster4 ).
Preencher color ffffff.
_Plugin VanDerLee \ UnPlugged -X
 9-Effects\ Image Effects\ Seamless Tiling:
( print ítem5)
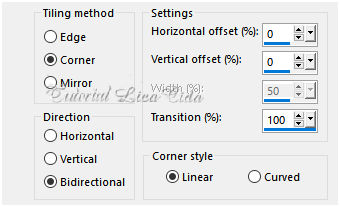
10-Plugin MuRa's Meister \Perspective Tiling . Height 20 \ demais
valores _Default.
*Com a Ferramenta Magic Wand \ Feather 60 \ Clique na parte
transparente .
Veja configuração :
*Deletar ( seis \ sete vezes_ suavizar bem o efeito ). Selections \ Select none.
11-Edit Copy no nicole-mist-paysage-20-2012\Paste As New Layer. Use na cor ( tonalidade) desejada.
12-Nova layer.
Selections\ Select All . Edit Copy no backlc \
Edit Paste Into Selection. Selections\ Select none.
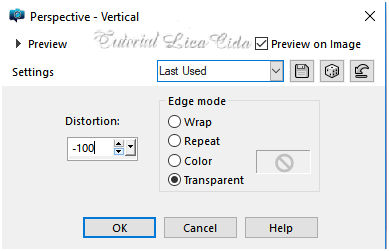
13-Effects\ Geometric Effects\
Perspective-Vertical.
 14-Effects\ Distortion Effects\ Pinch . S=100%.
15-Effects\ Geometric Effects\ Skew.
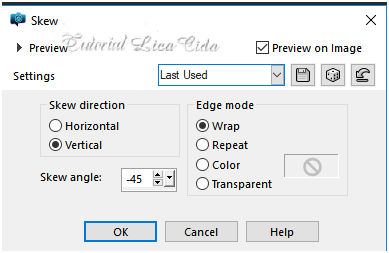 *repetir
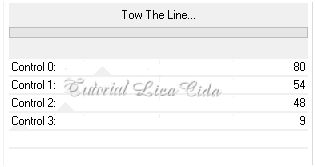
16-Plugin Tramages.
 Effects\3D Effects\ Drop Shadow. 3 \3 \ 70\ 20,00 .
(Color=#000000).
V e H negativos ( -3).
17-Plugin Nick Software\ Color EfexPro 3.0\ Bi-Color Filters.
Cool\Warm.
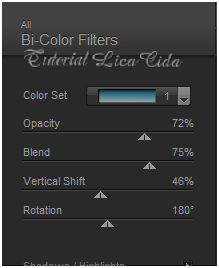 Blend Mode=Multiply. Opacity 61%.
*Repetir na Raster2 ( ítem 17).
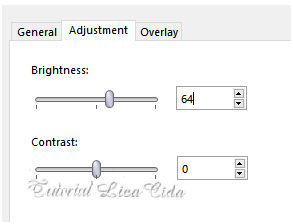
18-Volto a layer superior.
Layers\ New Adjustment Layer\
Brightness/Contrast...
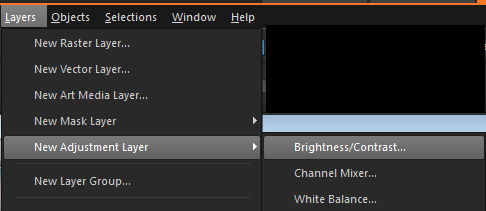 Ajuste a gosto.
 Layers\ Blends\ Opacitys.
 19-Edit Copy no decograma\ Paste As New Layer.
Posicione.
20-Edit Copy no pspcybertubes2012-203\ Paste As New Layer.
Posicione a gosto.
21-Edit Copy no bird_brushes_II_by_lpdragonfly_5 \Paste As New
Layer.
Posicione acima do misted.
22-Image \ Add
Borders \ 1 pxl color =#ffffff.
RESIZE 85%.
Edit Copy
Image \ Add Borders \ 40
pxls color =#clara (#c0c0c0)
Selecione.
Edit Paste Into Selection.
Adjust\ Blur\ Gaussian Blur...R=30,00.
Invert.
Effects\3D Effects\ Drop Shadow 0\ 0\
80\ 40,00.Color=#000000.
Selections\ Select none
. Aplicar a Marca D'agua.
Assine e salve.
Aparecida \ licacida , outubro de 2018.
Espero que gostem.
Obrigada!
  |
