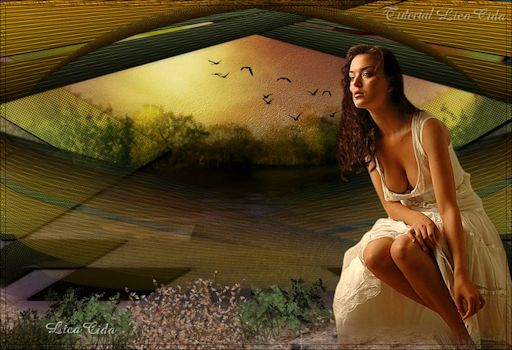
"Top Ligia"
**Homenagem a querida amiga Li**
Masks:
maskcameron195 e Gradiente.
Backs:
back lc1 \ back lc2.
Tubes: bird_brushes_II_by_lpdragonfly_5 \
paisagem arquivo net\woman145_ByHebe
Premade chao natureza 004
dworisch.
Marca
D'água.
Efeitos do PSP.
Versão usada
PSPX5.
Plugins
Plugin Graphics Plus\ Vertical
Mirror.
Plugin FMTT / Blend
Emboss.
Plugin Nick Software.
Roteiro
1-Abrir nova imagem transparente de 1024 x 600
pxls.
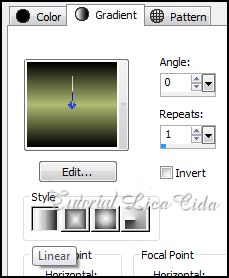
2-Pintar com o gradiente formado pelas cores #000000 e #aebc71 .
Configurar Linear : Angle 0 / Repeats 1. Invert
desmarcado.
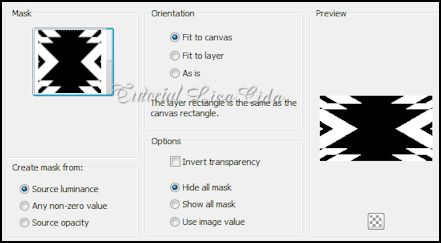
3-Aplicar a maskcameron195 .Invert
desmarcado.
_Layer/ Merge / Merge Group.
4-Effects\ Artistic Effects |
Halftone.
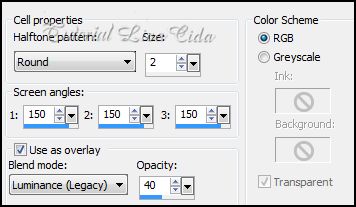
_Effects / 3D Effects / Drop
shadow: 2 / 2 / 100 / 2,00 .
Color=#000000.
_Layer Duplicate . Tirar a
visibilidade da Group_Raster1 ( layer original ).
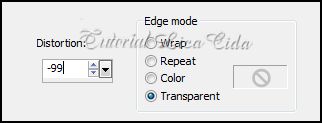
5-Effects \ Geometric
Effects \ Perspective Horizontal .
( menos )
-99 ..
_Ativar a
Ferramenta Freehand Selection , selecionar o efeito
central.
_DELETAR.

_Selections /Selection None.
_Layer Duplicate/ Image
Mirror. Layers/ Merge/ Merge Down.
6- Plugin Graphics Plus\
Vertical Mirror .
255\0.
7-Image /Canvas Size
_1024 x 700 _Bottom 100.
8-.New Layer .
Arrange/Send to Botton. Pintar com o mesmo
gradiente
( ítem 2 )
9-New Layer . Select all /
Edit Copy em um tube paisagem ( paisagem net ) / Edit
Paste Into Selection .
_Selections / Select none.
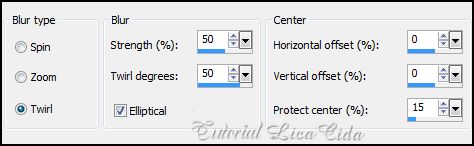
10-Adjust / Blur / Radial
Blur.
11-Adjust / Add/ Remove Noise/ JPEG Artifact
Removal.
_Maximum\100.
12-Plugin FMTT / Blend Emboss _Default. Layer \ Merge\ Merge
Dow.
13-Aplicar uma Mask Gradiente
. _Layer / Merge / Merge Group.
_Blend
Mode=Lighten.
14-Aplicar a Mask
Gradiente também na layer superior (aplicar duas
vezes).
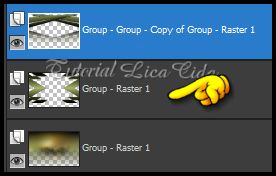
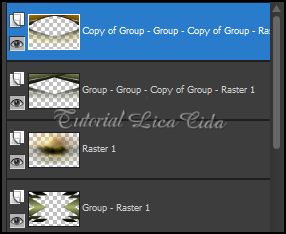
_ Group-Group- Copy of
Group -Raster 1.
_Layer / Merge / Merge
Group.
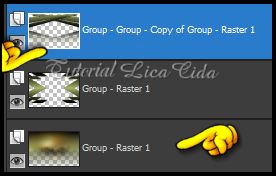
15-Ativar a Group
-Raster1 .
_Edit Copy Edit Copy em
um tube paisagem ( paisagem net ) . Edit /
Paste As New Layer.
_Posicione a gosto.
_Blend Mode= Hard
Light.
16-New Layer .
Arrange/Send to Botton. Pintar com uma cor que combine.
( Usei a cor #988050
).
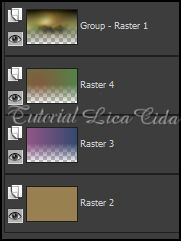
_LAYERS_
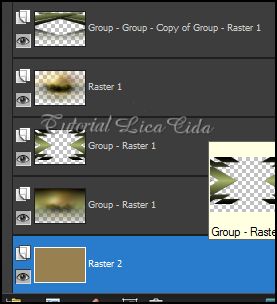
_Observe se os blends mudados estão
corretos_
17-New Layer.
Select all / Edit Copy no back lc1/ Edit Paste Into Selection .
_Selections / Select none.
_Blend Mode=Difference .
Opacity=100%.
18-New Layer. Select all / Edit Copy
no back lc2/ Edit Paste Into Selection .

_Selections / Select none.
_Blend Mode=Difference .
Opacity=97%.
19-Ativar a layer Group -
Raster 1. ( A layer da maskcameron195 ).
_Blend Mode=Hard Light.
20- Ativar a layer superior.(
Group-Group- Copy of Group -Raster 1).
_Effects/ Image Effects Offset.
0\ 65.
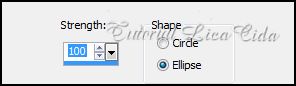
21-Layer duplicate . Effects\
Geometric Effects\ Spherize .
Ellipse 100.
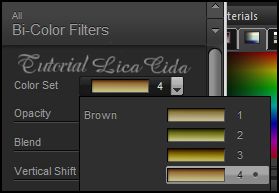
22-
Plugin Nick Software/ Color_ Bi-Color Filters \ Brown
4.
_Ou de
acordo com as cores usadas.
_LAYERS_
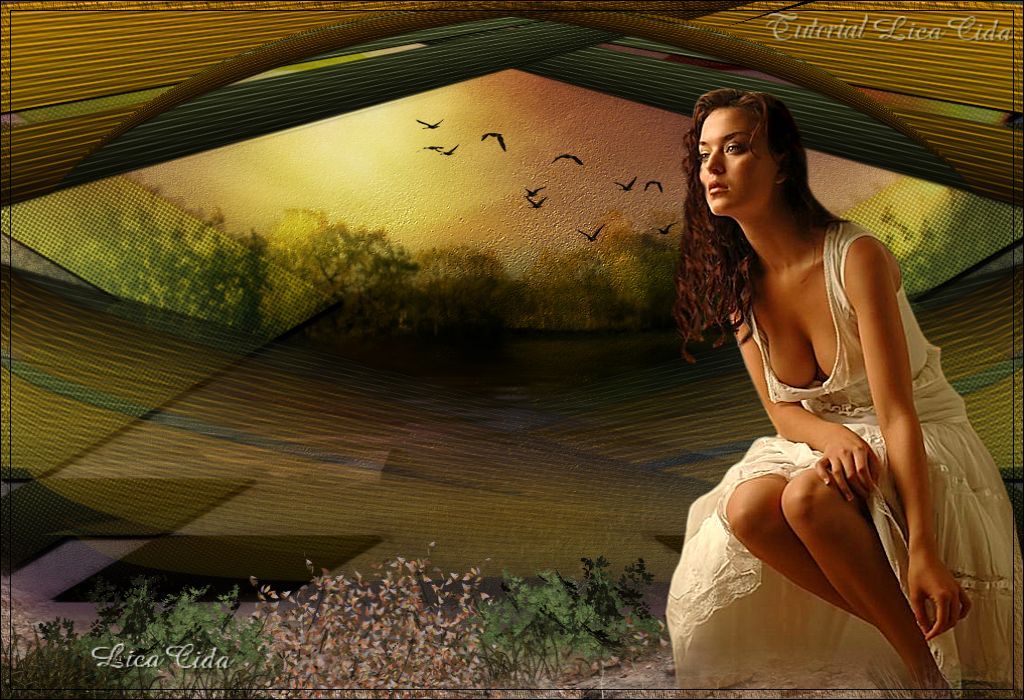
23_Edit Copy no tube woman145_ByHebe Edit
/ Paste As New Layer.
Posicione e decore a gosto.
_Assine e salve.
Espero
que gostem.
Aparecida
/ Licacida, em Março de 2013.
Rio de Janeiro_Brasil