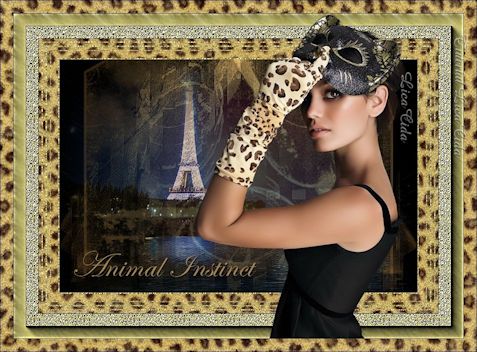
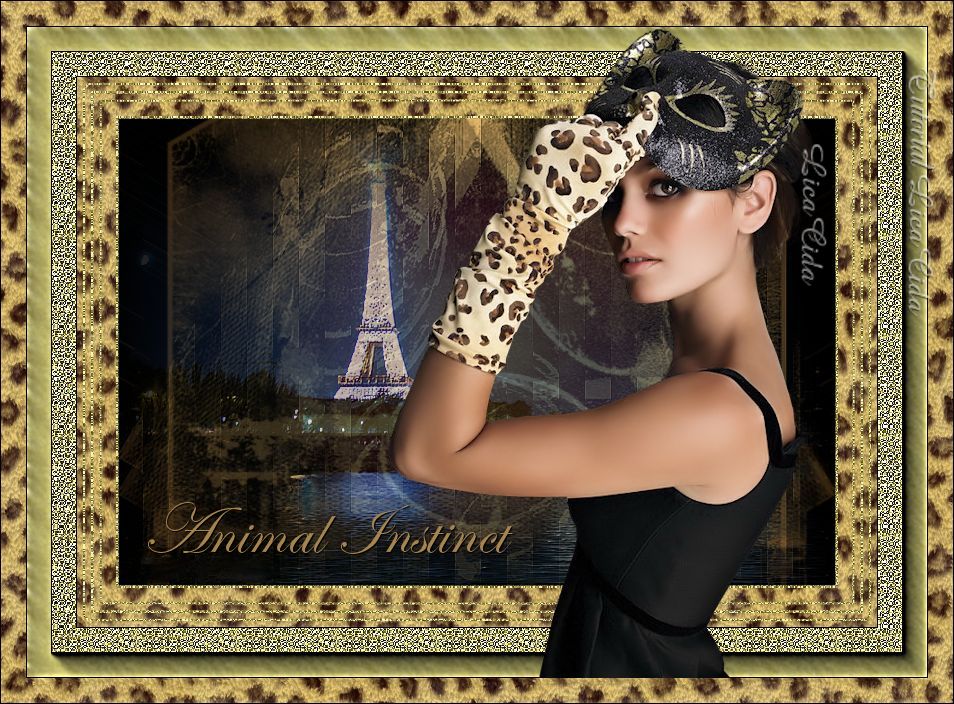
 Tag "Animal Instinct"
Tubes:
calguismistparis27129
/calguis2portrait1349
Textura: Textura
Winter .
Pattern Gold
49.
Marca D'agua. Efeitos do PSP.
Versão usada PSPX2. Refeita com a
versão PSPX5.
Plugins
Plugin Alien Skin Eye Candy 5: Textures/
Animal Fur.
Plugin dsb flux / Linear
Transmission.
Plugin AAA Frames / Foto
Frame.
Roteiro
1- Abrir nova imagem transparente
de 800 x 550 pxls. Pintar com a cor #ffffff
.
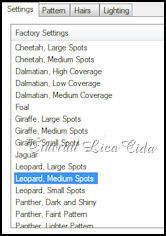
2-Plugin Alien Skin Eye Candy 5: Textures/
Animal Fur.
_Settings . Leopard,
Medium Spots.
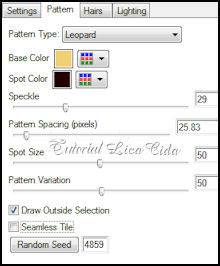
 _Pattern.
Leopard.
29/25.83/50/50. Draw Outside Selection
/ marcado.
(
Default )
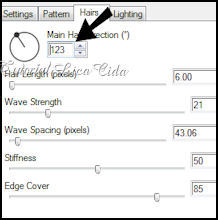
 _Hairs.
123/ 6.00/
21/ 43.06/ 50/ 85.
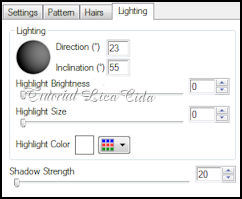
 _Lighting.
23/55/0/0/20.
 3-Selections / Select
all.
_Selections / Modify / Contract 15.
4-Selections/ Modify /Select Selection
Borders.
( Both sides e Anti-alias marcados, Border
1).
 5-Nova
Layer.
_Pintar com Pattern
Gold 49.
_Pattern: Angle=0 /
Scale=100.
_Mantenha
selecionado_
6- Selections / Modify
/ Expand 07.
7-Selections/ Modify /Select Selection
Borders.
( Both sides e Anti-alias marcados, Border
1 .) Print ítem 4.
8-Nova Layer.
_Pintar com Pattern Gold 49.
_Pattern: Angle=0 / Scale=100.
_ Select none.
_Layer\ Merge\ Merge
Visible.
9-Nova Layer
.
_Selections /
Select all. Selections / Modify /
Contract 40.
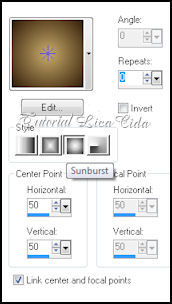
10-Pintar com o
gradiente formado pelas cores #c8ac6b e
#301b08.
Configurar Sunburst
: Repeats 0. Invert desmarcado. Center Point : h=50 / v=50
.
 11-Nova Layer .
_ Edit/ Copy na Textura Winter /
Edit Paste Into Selection .
_Mantenha
selecionado_
12-Effects/ Reflection
Effects / Rotating
Mirror:
h=60 / v=45/ Repeat marcado /
Angle: 120.
13-Layer
Duplicate / Image mirror.
_Promote Selection
to Layer. Opacity 50%.
14-Plugin dsb flux
/ Linear Transmission.
8 / 8 / 45 /
Vertical .
15-Effects / Edge Effects / Enhance
.
_Mantenha
selecionado_ _LAYERS_
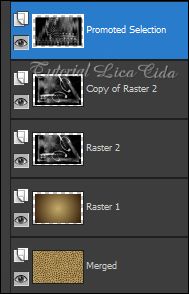 _Desativar a layer
Merged e Raster 1.
_ Layer\
Merge\ Merge visible.
_LAYERS_
 _Ativar as layers
e mudar o Blend Mode da layer Merged para
Overley.
16-Selections/
Modify /Select Selection Borders.
( Both sides e Anti-alias
marcados, Border 1 ) Print ítem
4.
17-Nova
Layer.
_ Pintar com Pattern Gold
49.
_Pattern: Angle=0 /
Scale=100.
_ Select
none.
18-Image / Add Borders / 1
pxl symmetric marcado.Cor#000000.
19-Image / Add Borders
/ 50 pxl symmetric
marcado.Cor#ffffff.
20-Selecionar.
_ Pintar com Pattern
Gold 49.
_Pattern: Angle=0 /
Scale=100.
21-Plugin AAA Frames / Foto
Frame . Width / 25.
22-Plugin Xero\
Clarity_ Default _ Aplicar duas
vezes.
_Select
none.
23-Edit Copy no tube
calguismistparis27129 /Paste As New Layer .
_Resize 80% .
Opacity: Usar a
gosto.
24-Plugin FMTT / Blend
Emboss.
25-Edit
Copy no tube calguis2portrait1349. /Edit Paste As New Layer
. Resizr
90%. Posicione.
26- Image/ Add Borders / 25 pxl symmetric
marcado.Cor#ffffff.
_Selecionar \ Promote
Selection to Layer .
27-Repetir ítem 2.
Selections Invert \ Delete.
_Select
none.
28-Image / Add Borders / 1
pxl symmetric
marcado.Cor#000000.
Aplicar a
Marca D'agua.
Assine e
salve como JPG.
Tutorial criado por Aparecida / LicaCida
em Abril de 2010. |